

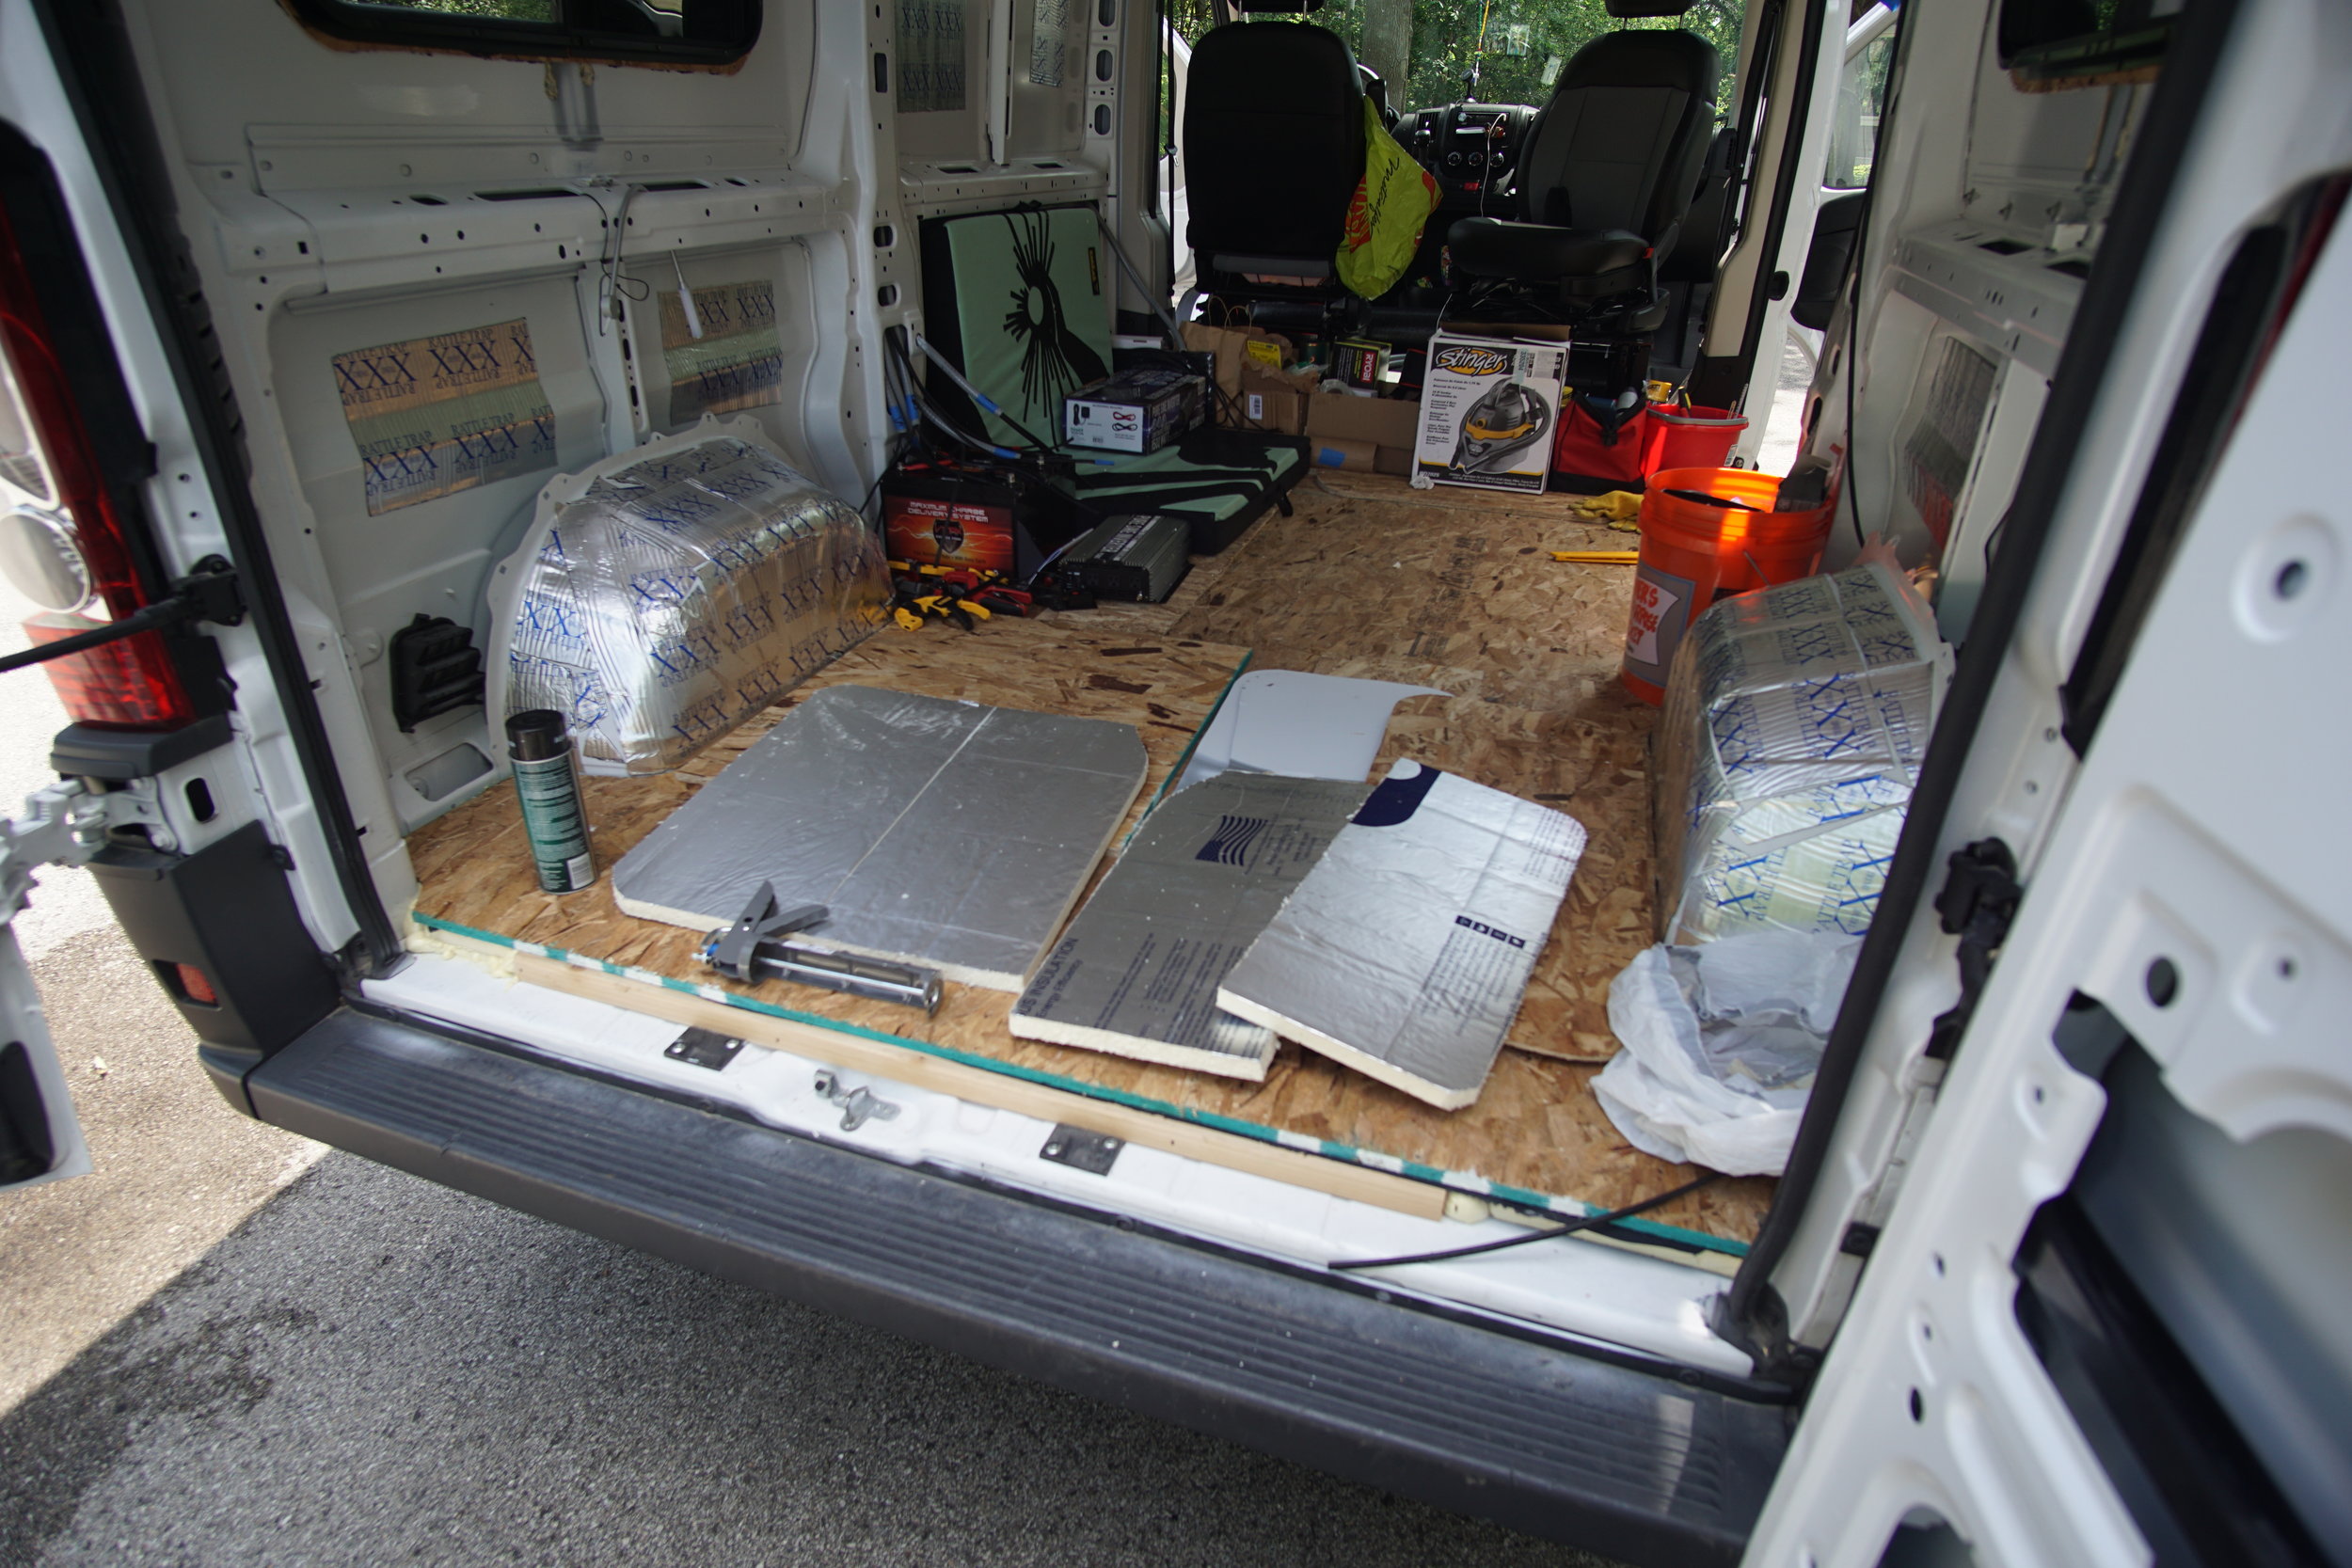
Insulation
If you read my post about the subfloor, you know that I decided to use 1" polyiso foam board and spray foam for my insulation. Most of that decision came from extensive research into what other people had used for insulation (resources I used at the very bottom of the post). But the main article I read that helped me make the decision was about understanding insulation and came from Cheap RV Living/Bob Wells. The article dives into the factors that make insulation work in different situations and helped me make a decision based on my setup.
One of the main things I learned was that there's no silver bullet to insulation and many things COULD work. You just have to make a decision. You also need to think critically about what you're trying to achieve with insulation and the types of climates in which you plan to live. To some degree, I don't think we need to be hyper critical of the insulation process (although I did use Bob's wisdom wisely). Yes, the insulation makes a difference, but it's not going to be perfect and you're not going to have this flawless climate… I guess that's just something you need to accept when you decide to live out of a van.
Supplies Used
- 7-8 sheets of Polyiso insulation rigid boards
- At least 12 cans of GREAT STUFF Gaps and Cracks spray insulation
- 4 cans of 3M 90 spray contact adhesive
- Painters tape
- Jig saw for cutting board
- Utility knife
- 1 x 2" wood furring strip
- 1/8" plywood board
- 1 roll of 48" x 25' Reflectix insulation
- Shop vacuum for all the polyiso board debris
Sizing and Cutting Insulation
After installing the windows and adding furring strips to the ceiling (which I will talk about in a post about paneling), I was ready to begin insulating the walls and ceiling. As you might recall, the floor was already insulated when I put in my subfloor. The process, while time consuming, is a relatively easy one. You cut, you glue, your spray. I used a jig saw blade to cut shapes when appropriate since it went through the board so easily. But for straight lines I tended to use my utility knife since that created less debris - I just had to cut a line and then break it off since the knife barely went through the full 1 inch. It might be better with a long blade, but cutting curved lines will always be complex with a knife in foam types of materials. My cuts were conservative most of the time too so I could continue to make minor adjustments around the odd shapes of things. But the smaller the cut, the harder it is in these boards for it to be precise.


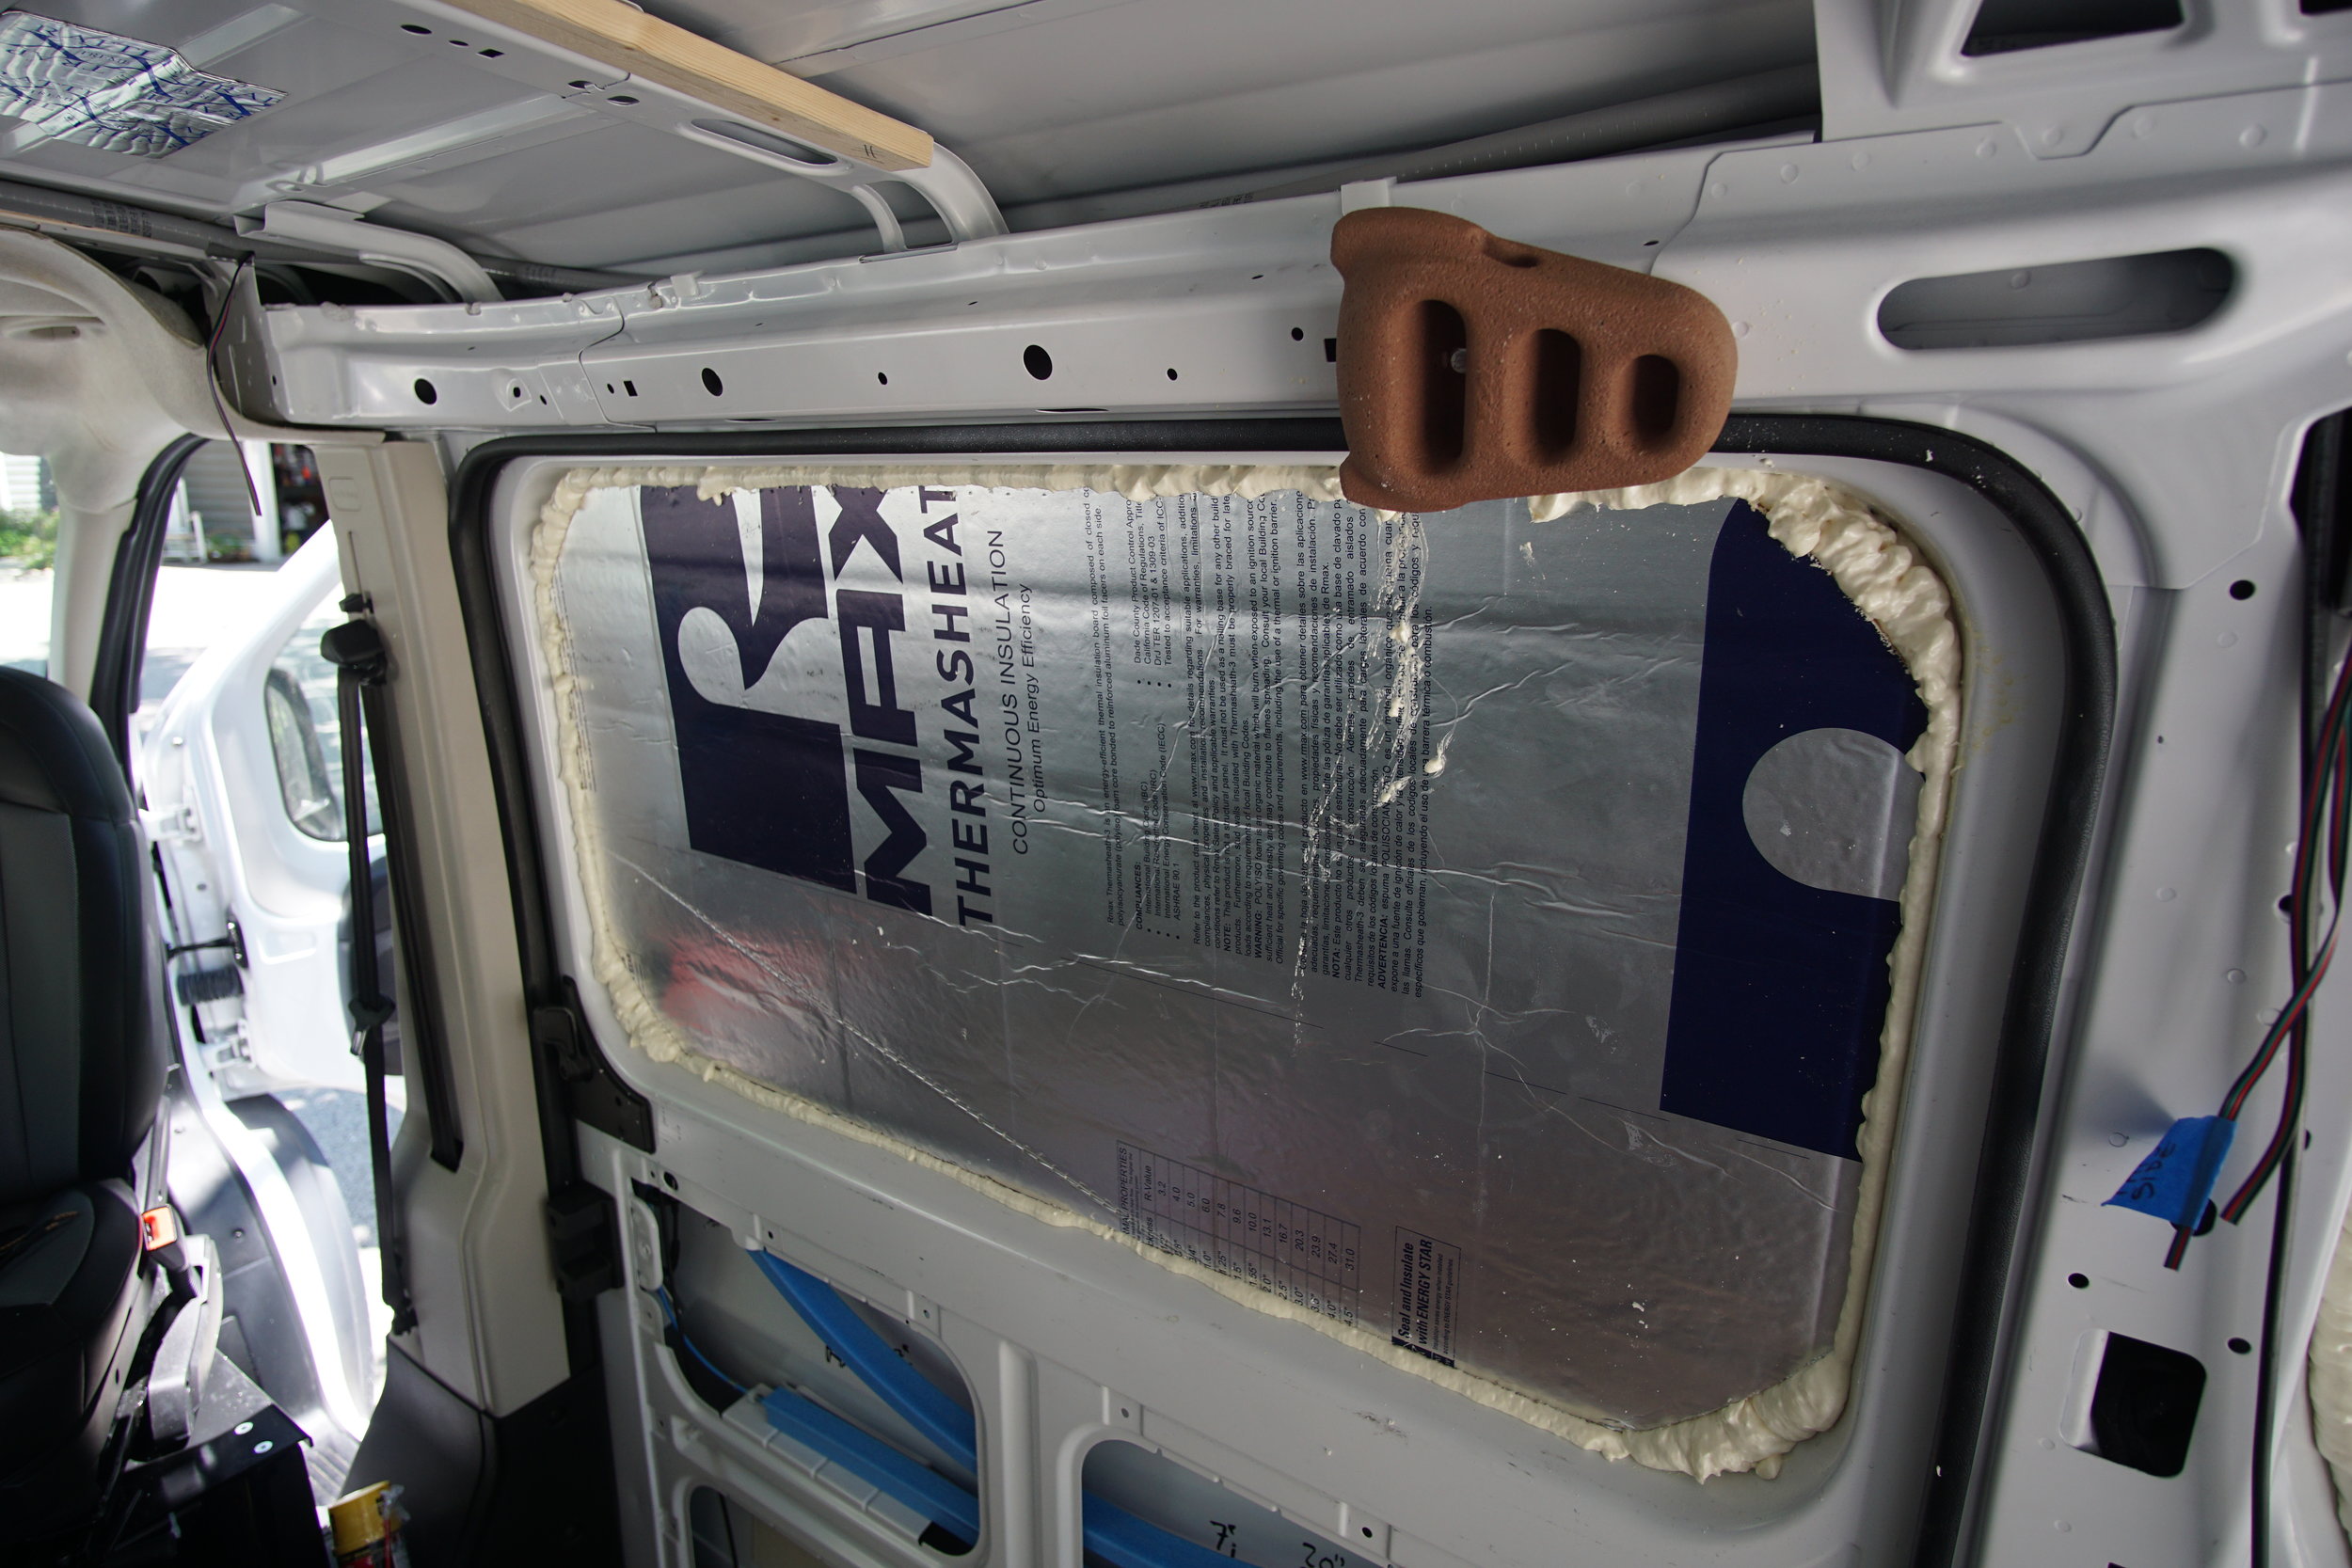
I started with the upper half of the walls. Shaping and cutting the insulation for the door was the easiest as it was just one large piece and there wasn't a beam there. Across from the door I had to cut two different pieces because of the beam, and I even screwed that up through my measurements, so it ended up being three pieces. The areas around the windows were the most complex. Those were made up of 5 pieces each because of the nature of the space and this one awkward welded piece of metal. I think I could have done it with fewer pieces, maybe even 1, but at the time I felt it would mean more waste and would definitely have been more difficult to size correctly. In hindsight, the waste "issue" was a mistake as I found a way to use all insulation scraps (stuffing them into holes) and the multiple pieces likely impact insulation efficiency to some degree.
For the bottom of the walls I had to cut 2 pieces for each wheel well area and the side across from the door because of small vertical beams that split them up. The door was more complex as it was made up of 3 main cavities (1 on the top half, two on the bottom) with the cables for the lock and door handle running through the top section. For the bottom two cavities I was able to cut pieces to size, but for the top cavity I needed to leave some space for the cables, so it wasn't totally flush with the metal throughout. I had the same issue with the back doors when it came to cables. Wherever possible in those situations, I took smaller scraps of polyiso and stuffed it into the little cavities that were left due to the channels that otherwise needed be left open for the cables.
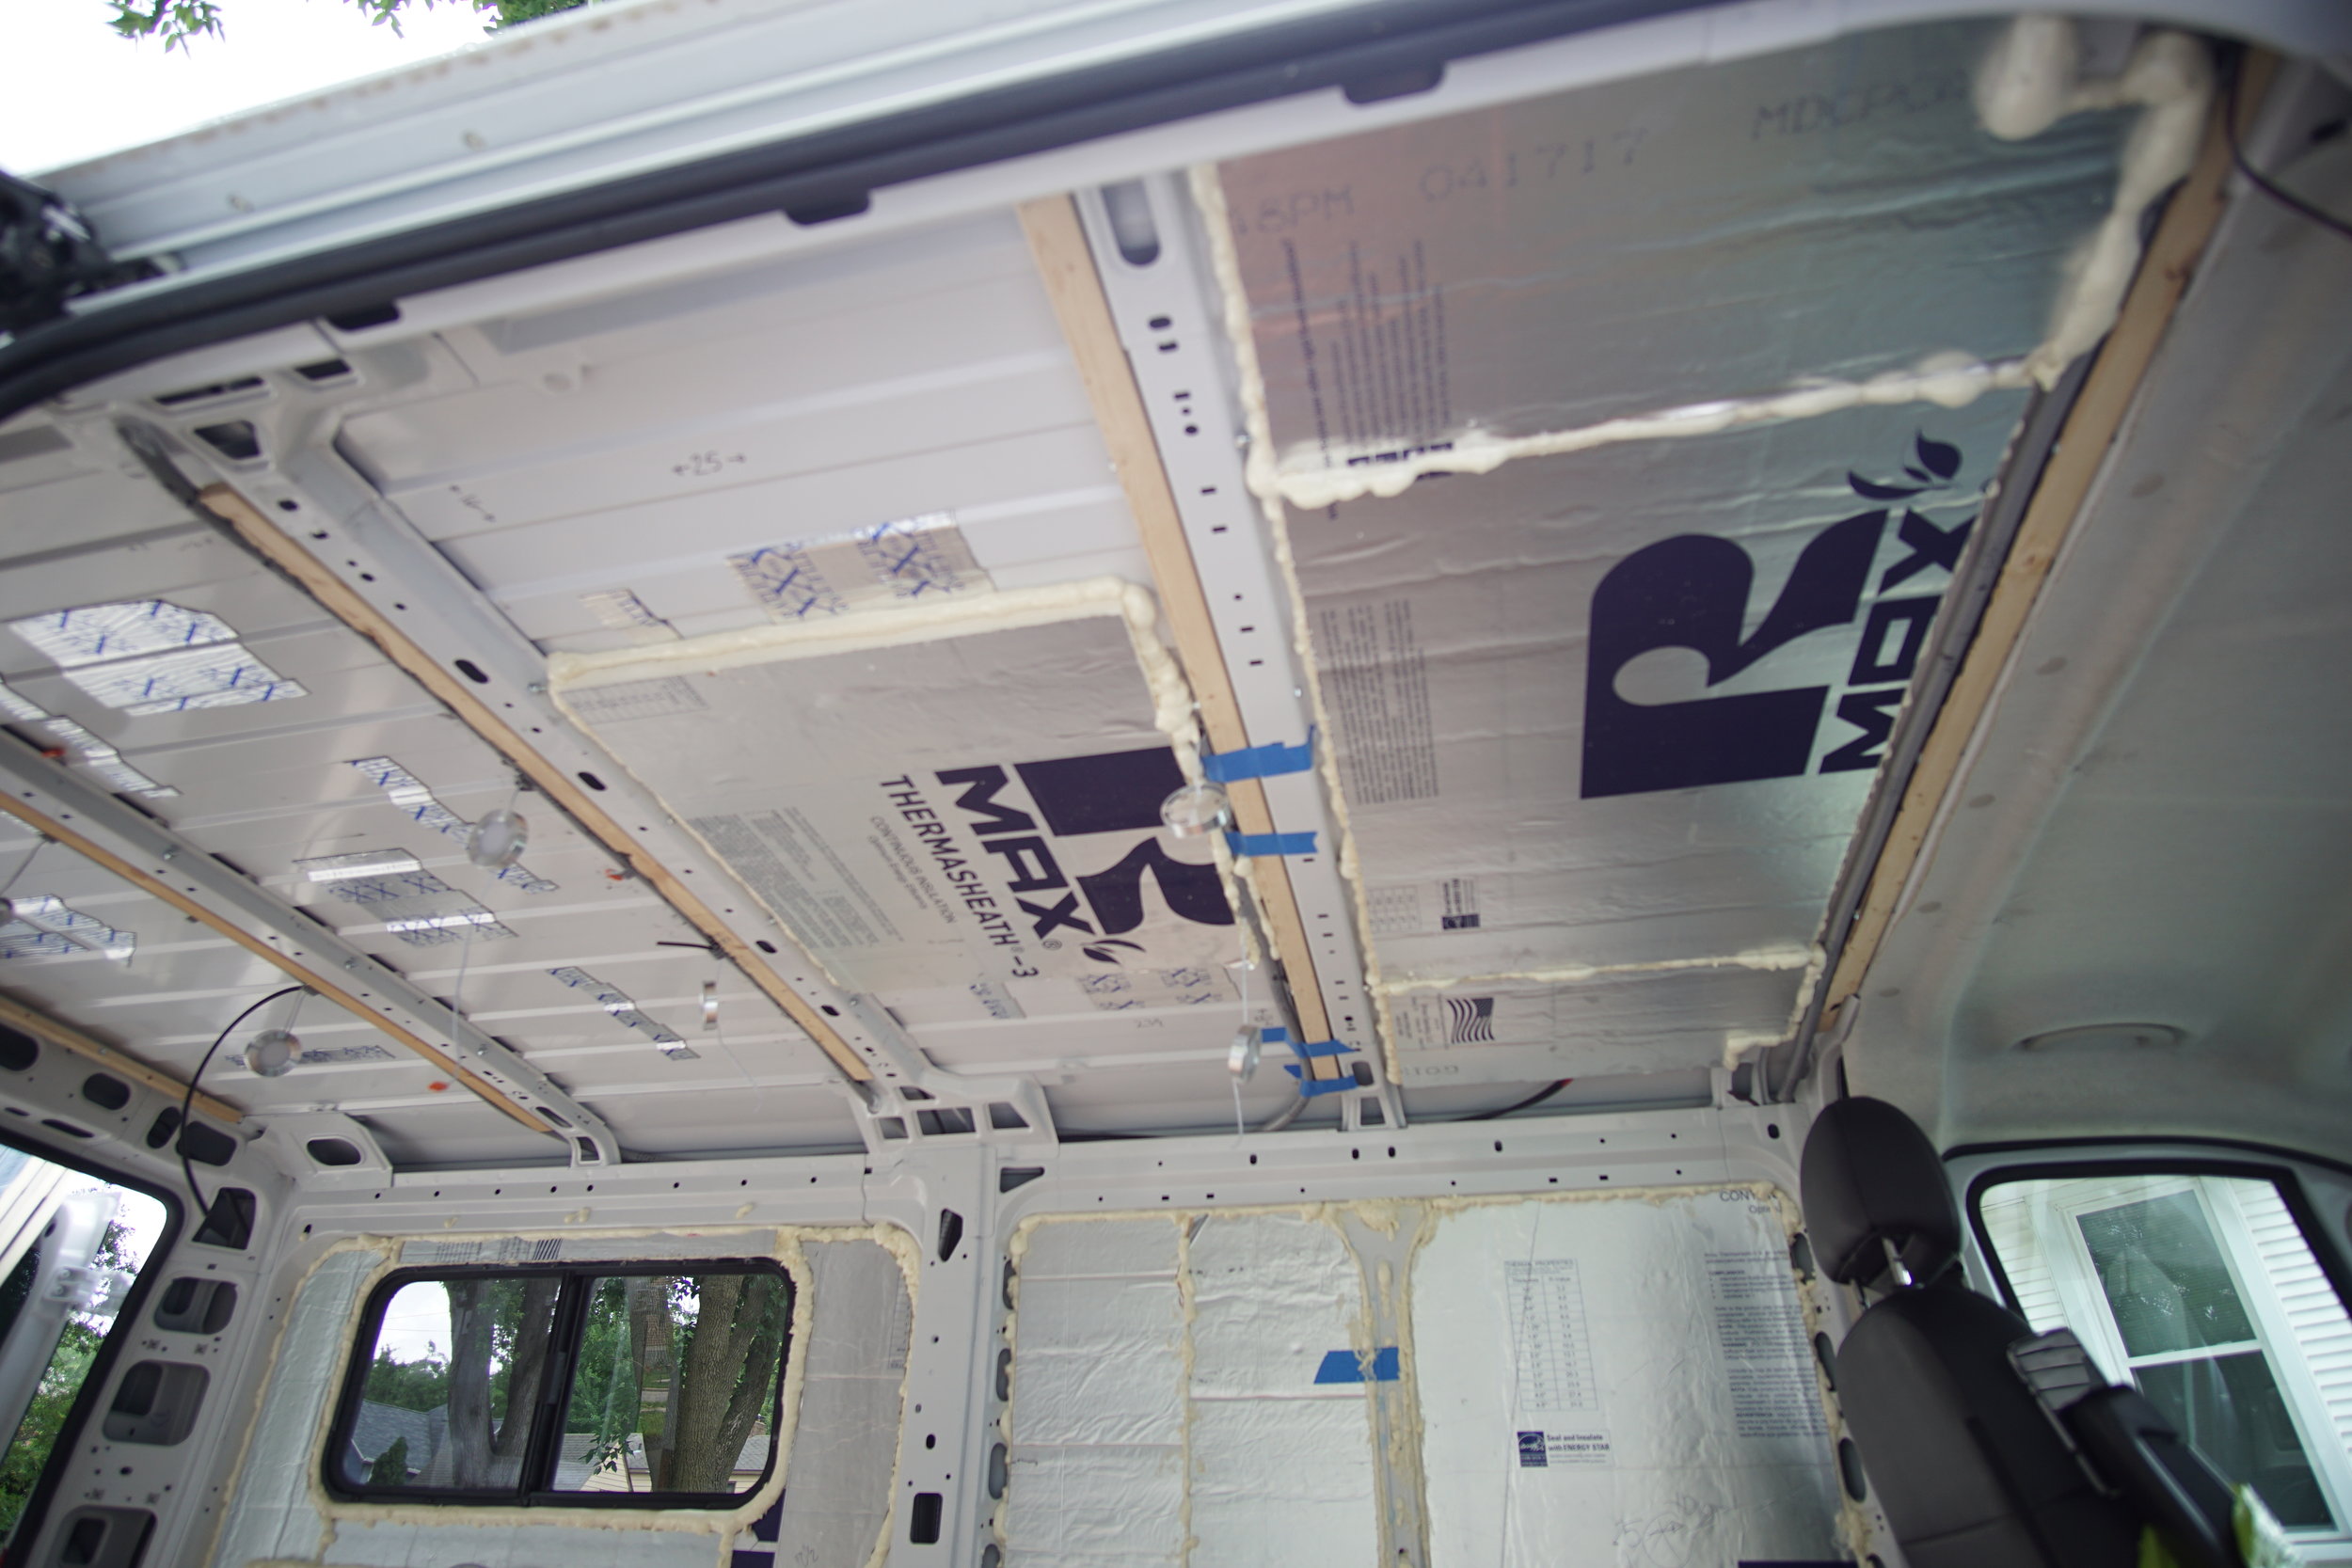
The boxy shape of the ProMaster helped when it came to the ceiling, but I still couldn't find a way to effectively use 1 piece for each of the 4 sections. I've seen others use single pieces on taller vans where those fractions of inches lost to the curve aren't a problem, but I couldn't justify it with my low roof. So I cut one major piece for the center sections and then 2 pieces for the right and left side of the center piece (meaning I had 12 main pieces for the ceiling).
I had to cut additional smaller pieces to fit into some of the corners of the ceiling, by the floor, and in other oddly shaped places. But that was a theme across the whole insulation process - most things couldn't be accomplished with a simple cut and had to pieced together with multiple, differently-shaped boards. This included some odd places like the ribbing in the center and the back vertical and top horizontal back corners where wires ran for all the tail lights. For many of those places I used scraps and cut small blocks to stuff into the spaces. These spaces also made for difficult decisions when it came time to secure the insulation and fill in all the little gaps and cracks.
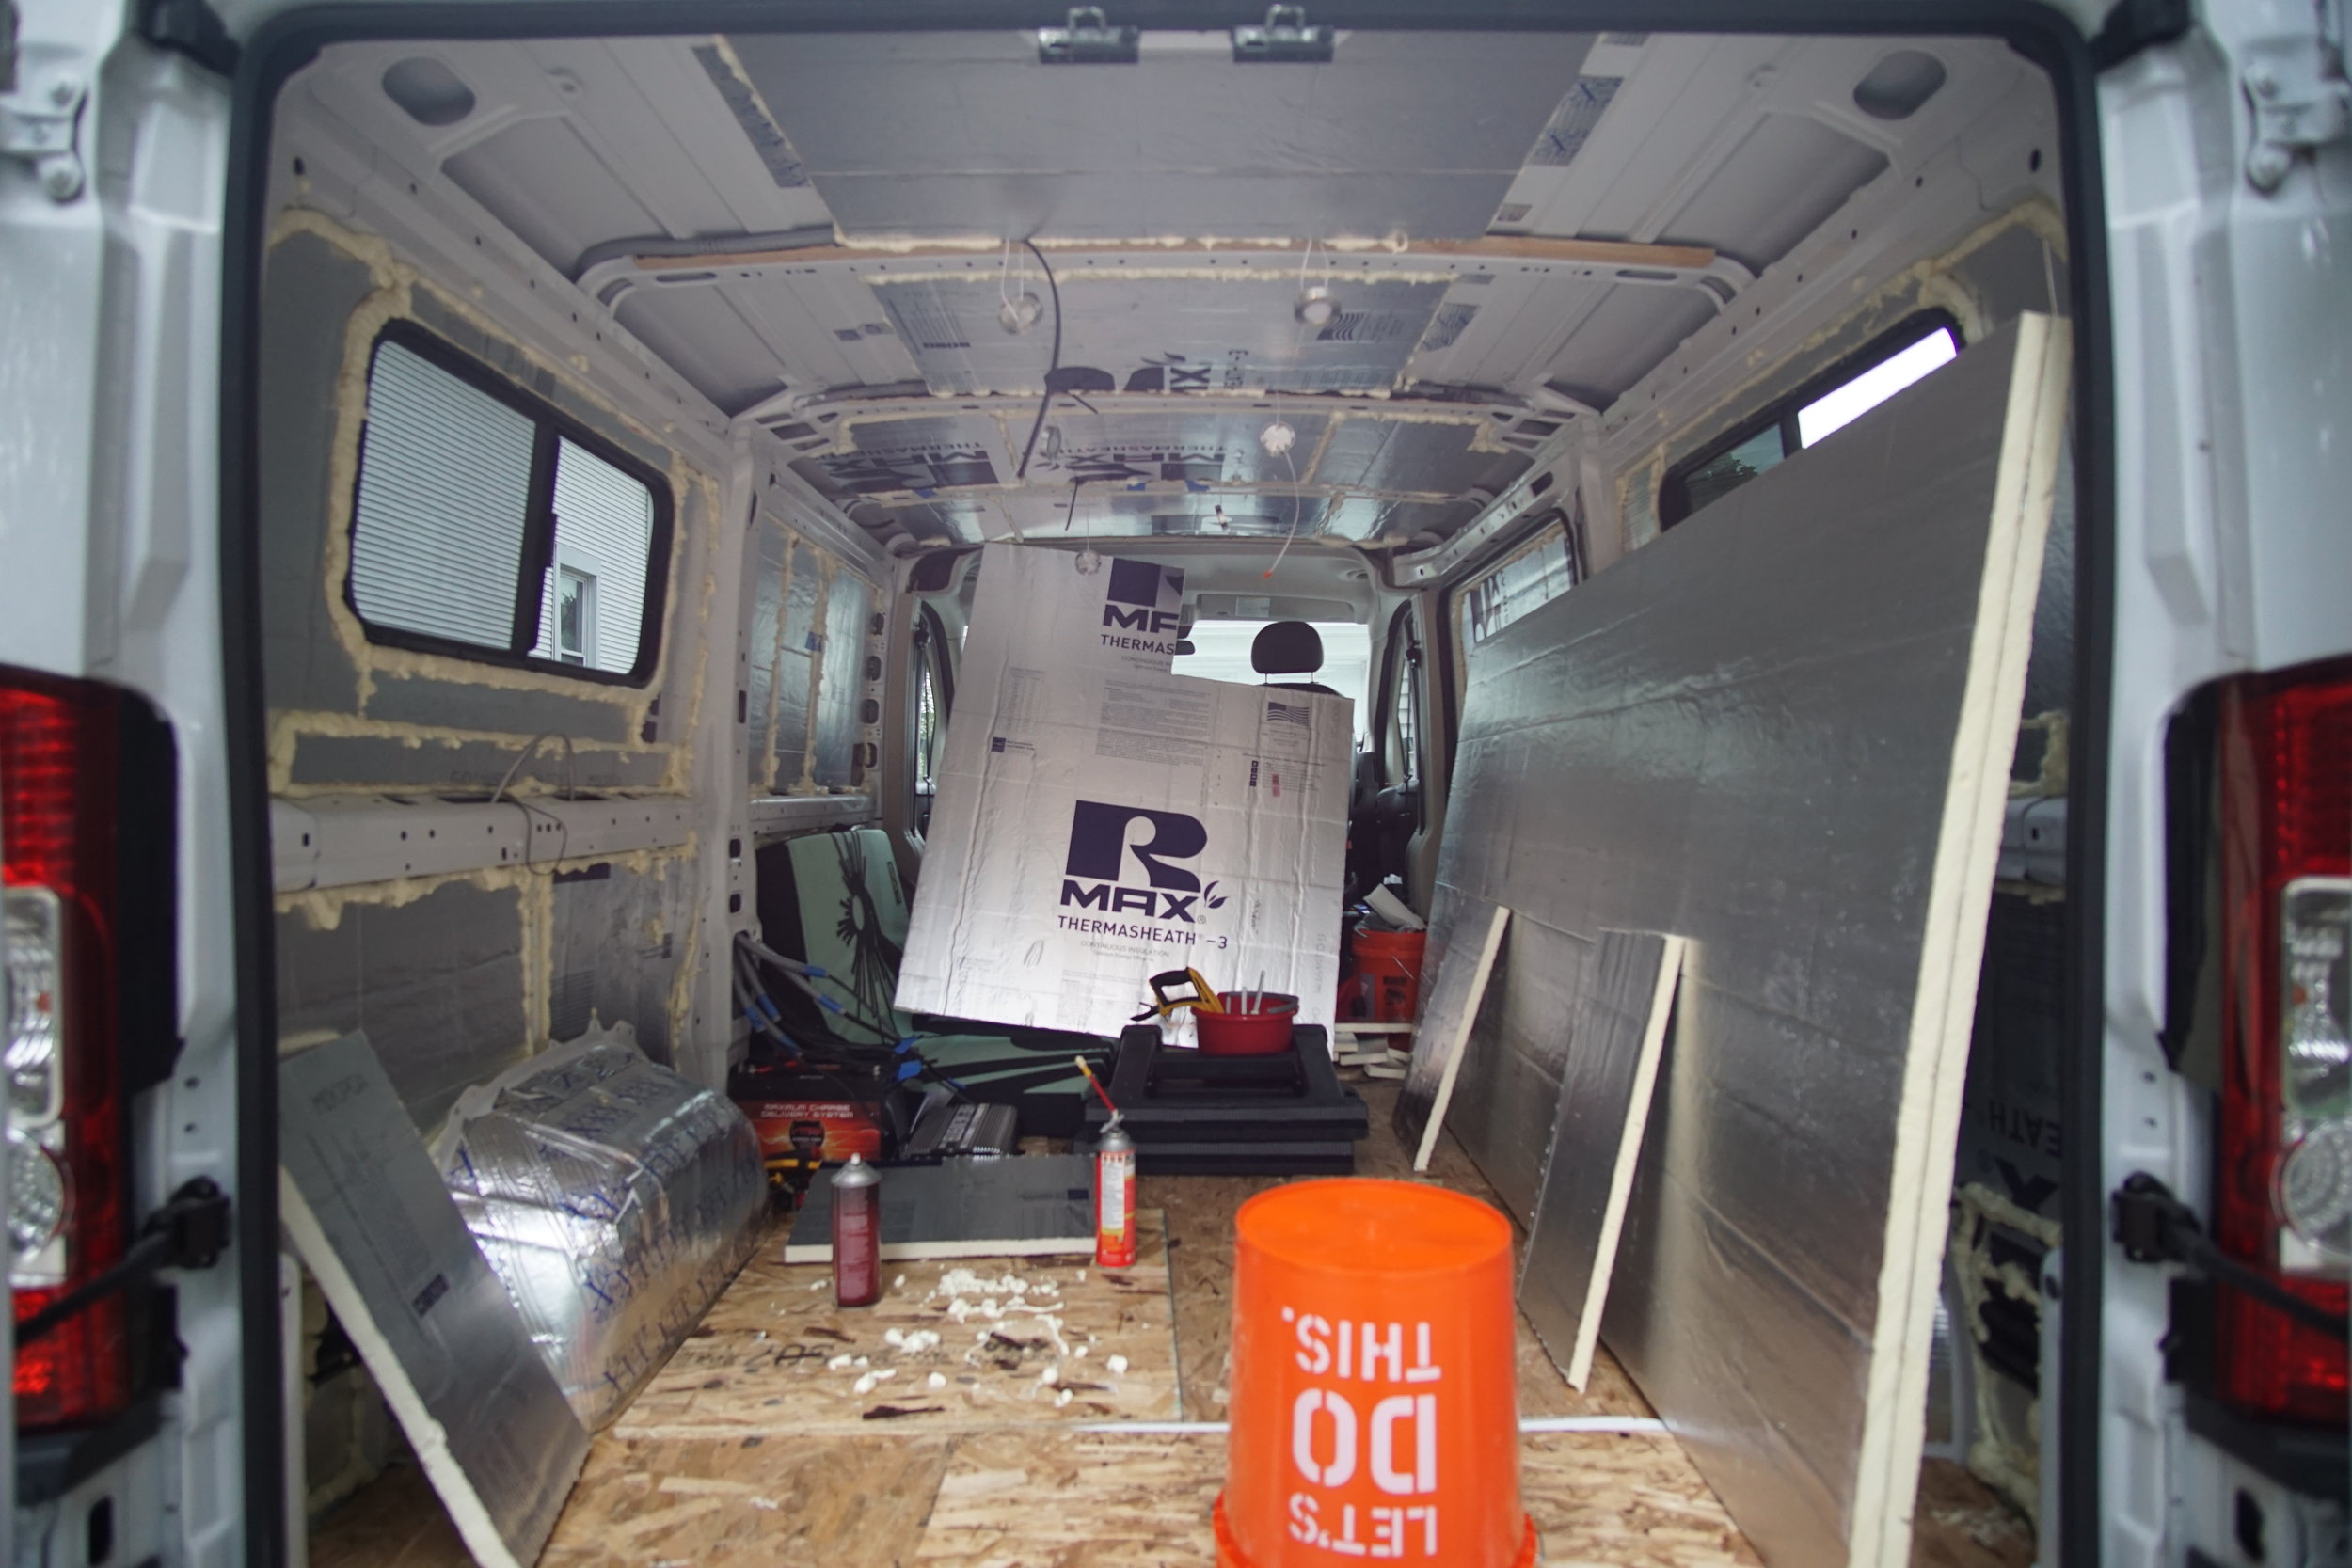
Securing Polyiso Board and Filling Gaps

To secure the insulation I'd cut, I was initially going to just use 3M 90 Hi-Strength spray adhesive. But I found that to not be strong enough to keep insulation in place while driving. Part of that is due to the area where you're sticking it. In a totally flat surface where there was a lot of contact, it worked (these spaces are rare). But in areas that were slightly curved or only had partial contact, it didn't work as well. So I quickly discovered the best way to secure the foam board was with the spray adhesive applied and then using the GREAT STUFF Gaps and Cracks to lock it into place. I mentioned in my subfloor post about how the GREAT STUFF acts as a glue itself and this proved to be most useful for making sure my insulation didn't come down. Since I was going to use spray foam on the cracks anyway, this process didn't change the end product.
I started with the top half of the walls, then the bottom and doors, and lastly the ceiling. I would spray the 3M 90 around the perimeter and center of the piece. I'd then stick it onto the wall and hold it in place for around 2 minutes, which was long enough for areas with minimal contact to stay while I applied the spray foam around the perimeter where the board met the metal of the van. Generally, I could leave that piece alone and move on to the next one in this process, but there was a few times where I had to hold the board in place for up to 10 minutes while the GREAT STUFF started to cure. Areas where this was most problematic were the ceiling (because of gravity) and places with weird shapes where there was poor contact with the entire foam board. It would have been useful to have a second set of hands in these situations. For each section I tried to have all foam board pieces in place before I used the spray foam. So in areas like the window I would glue all 5 pieces in place and then go over the perimeters/cracks with the spray foam. Places where this didn't work were mainly the ceiling, where I had to spray foam each piece as I put it up in order to beat gravity.

There are very large cavities along the bottom perimeter of the ProMaster where the floor meets the walls and in the vertical back corners. I wasn't entirely positive what to do about these areas. If you started to put little scraps into the crevices by the floor, they just seemed to disappear into the floor. In the vertical back corners, there were wires running through to the tail lights. For the floor crevices, I eventually just stuffed enough polyiso scraps that there was some structure and not a gaping hole. For the back vertical sections I did the same on the bottom half, but stopped where the tail lights and wires began. The wires run up from the middle of these sections to the ceiling, across the back top horizontal section, and then along the passenger side horizontal roof corner to the front of the van and battery - so this created some questions for the top horizontal corners as well.
With my polyiso board mostly in place and GREAT STUFF started, I turned fully to the can. I went over areas again where I'd used GREAT STUFF to secure boards and fully filled in the cracks where boards met each other or the van wall. On the floor and back corner crevices where I'd created some structure with polyiso board, I coated a spray foam layer over it all to ensure there weren't any open holes into the crevices. In some areas of ribbing where I couldn't fit polyiso board, I spray foamed the inside to make sure those were insulated as well. I used up can after can of GREAT STUFF, trying to leave no open space unfilled. But, there were certain open areas I didn't/couldn't spray, starting with the tail light wire locations, the top corners where wires ran to the front, and also the driver side center beam where my conduit ran for electrical wiring. As much as possible I stuffed a little foam board in these place or later covered the space with some Reflectix, but I also resigned those areas to not be flawless. I could have spray foamed for days if I wanted to, but at a certain point you need to decide it's good enough and move on.

Insulating Wheel Wells
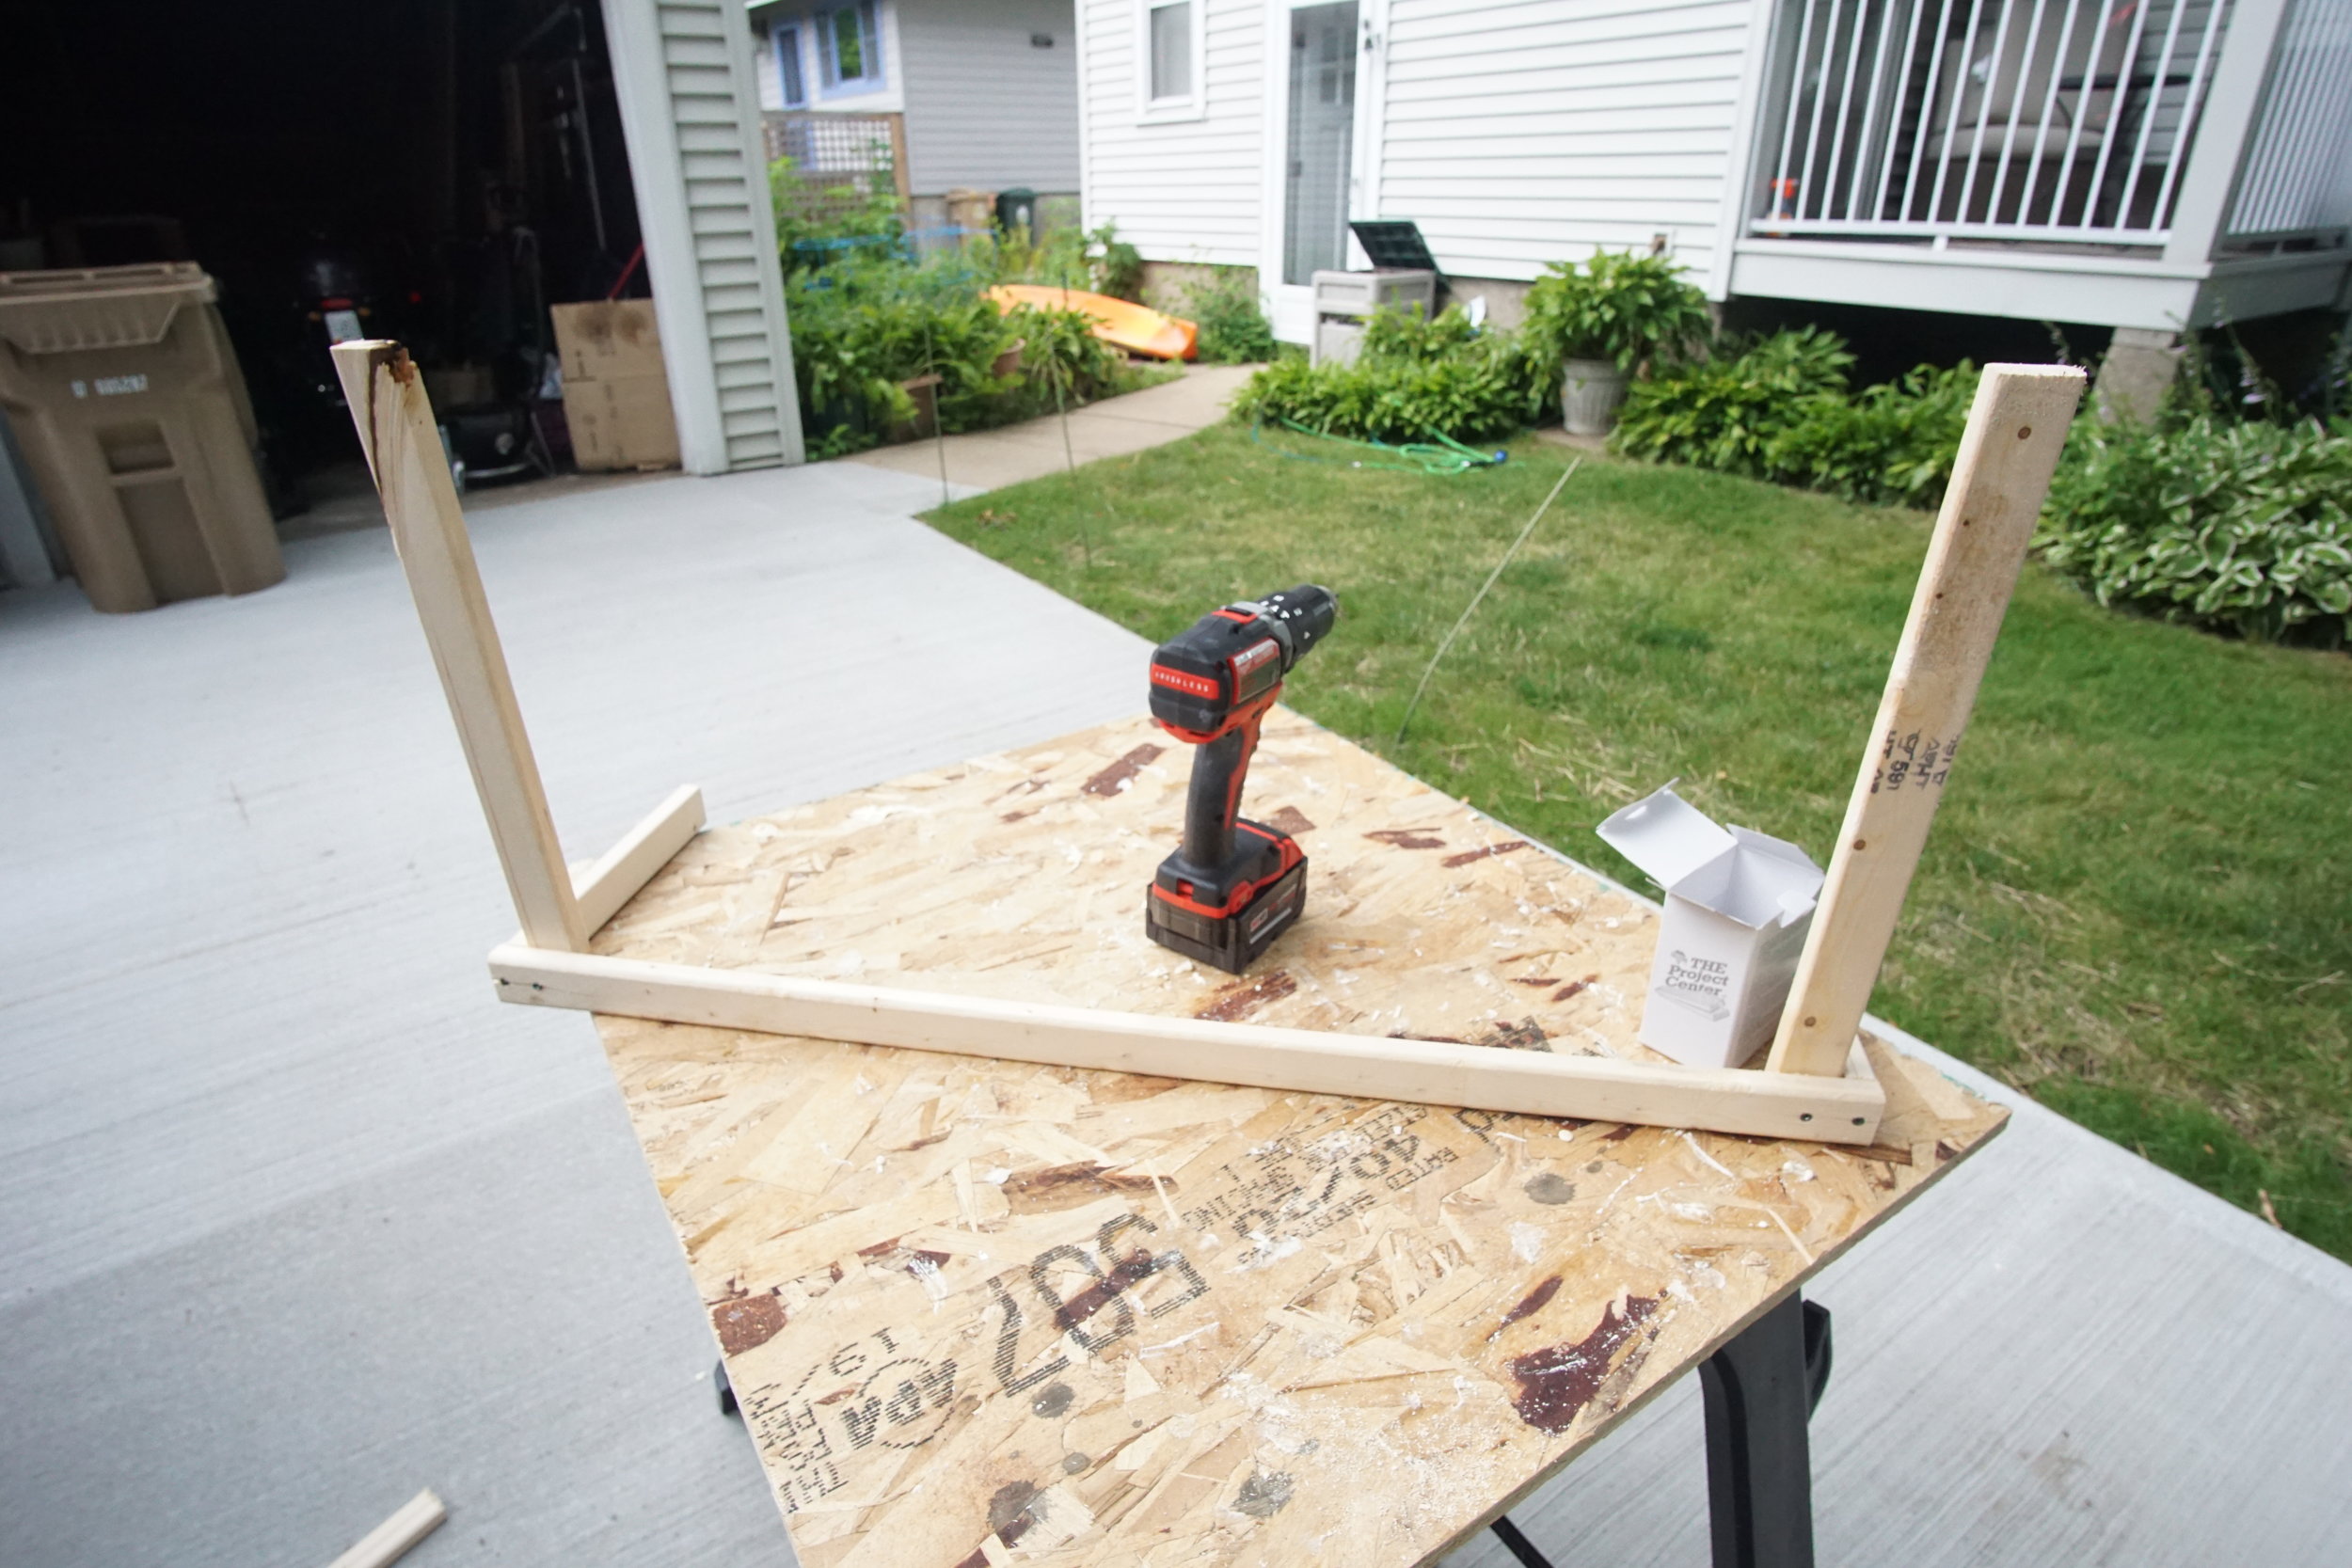
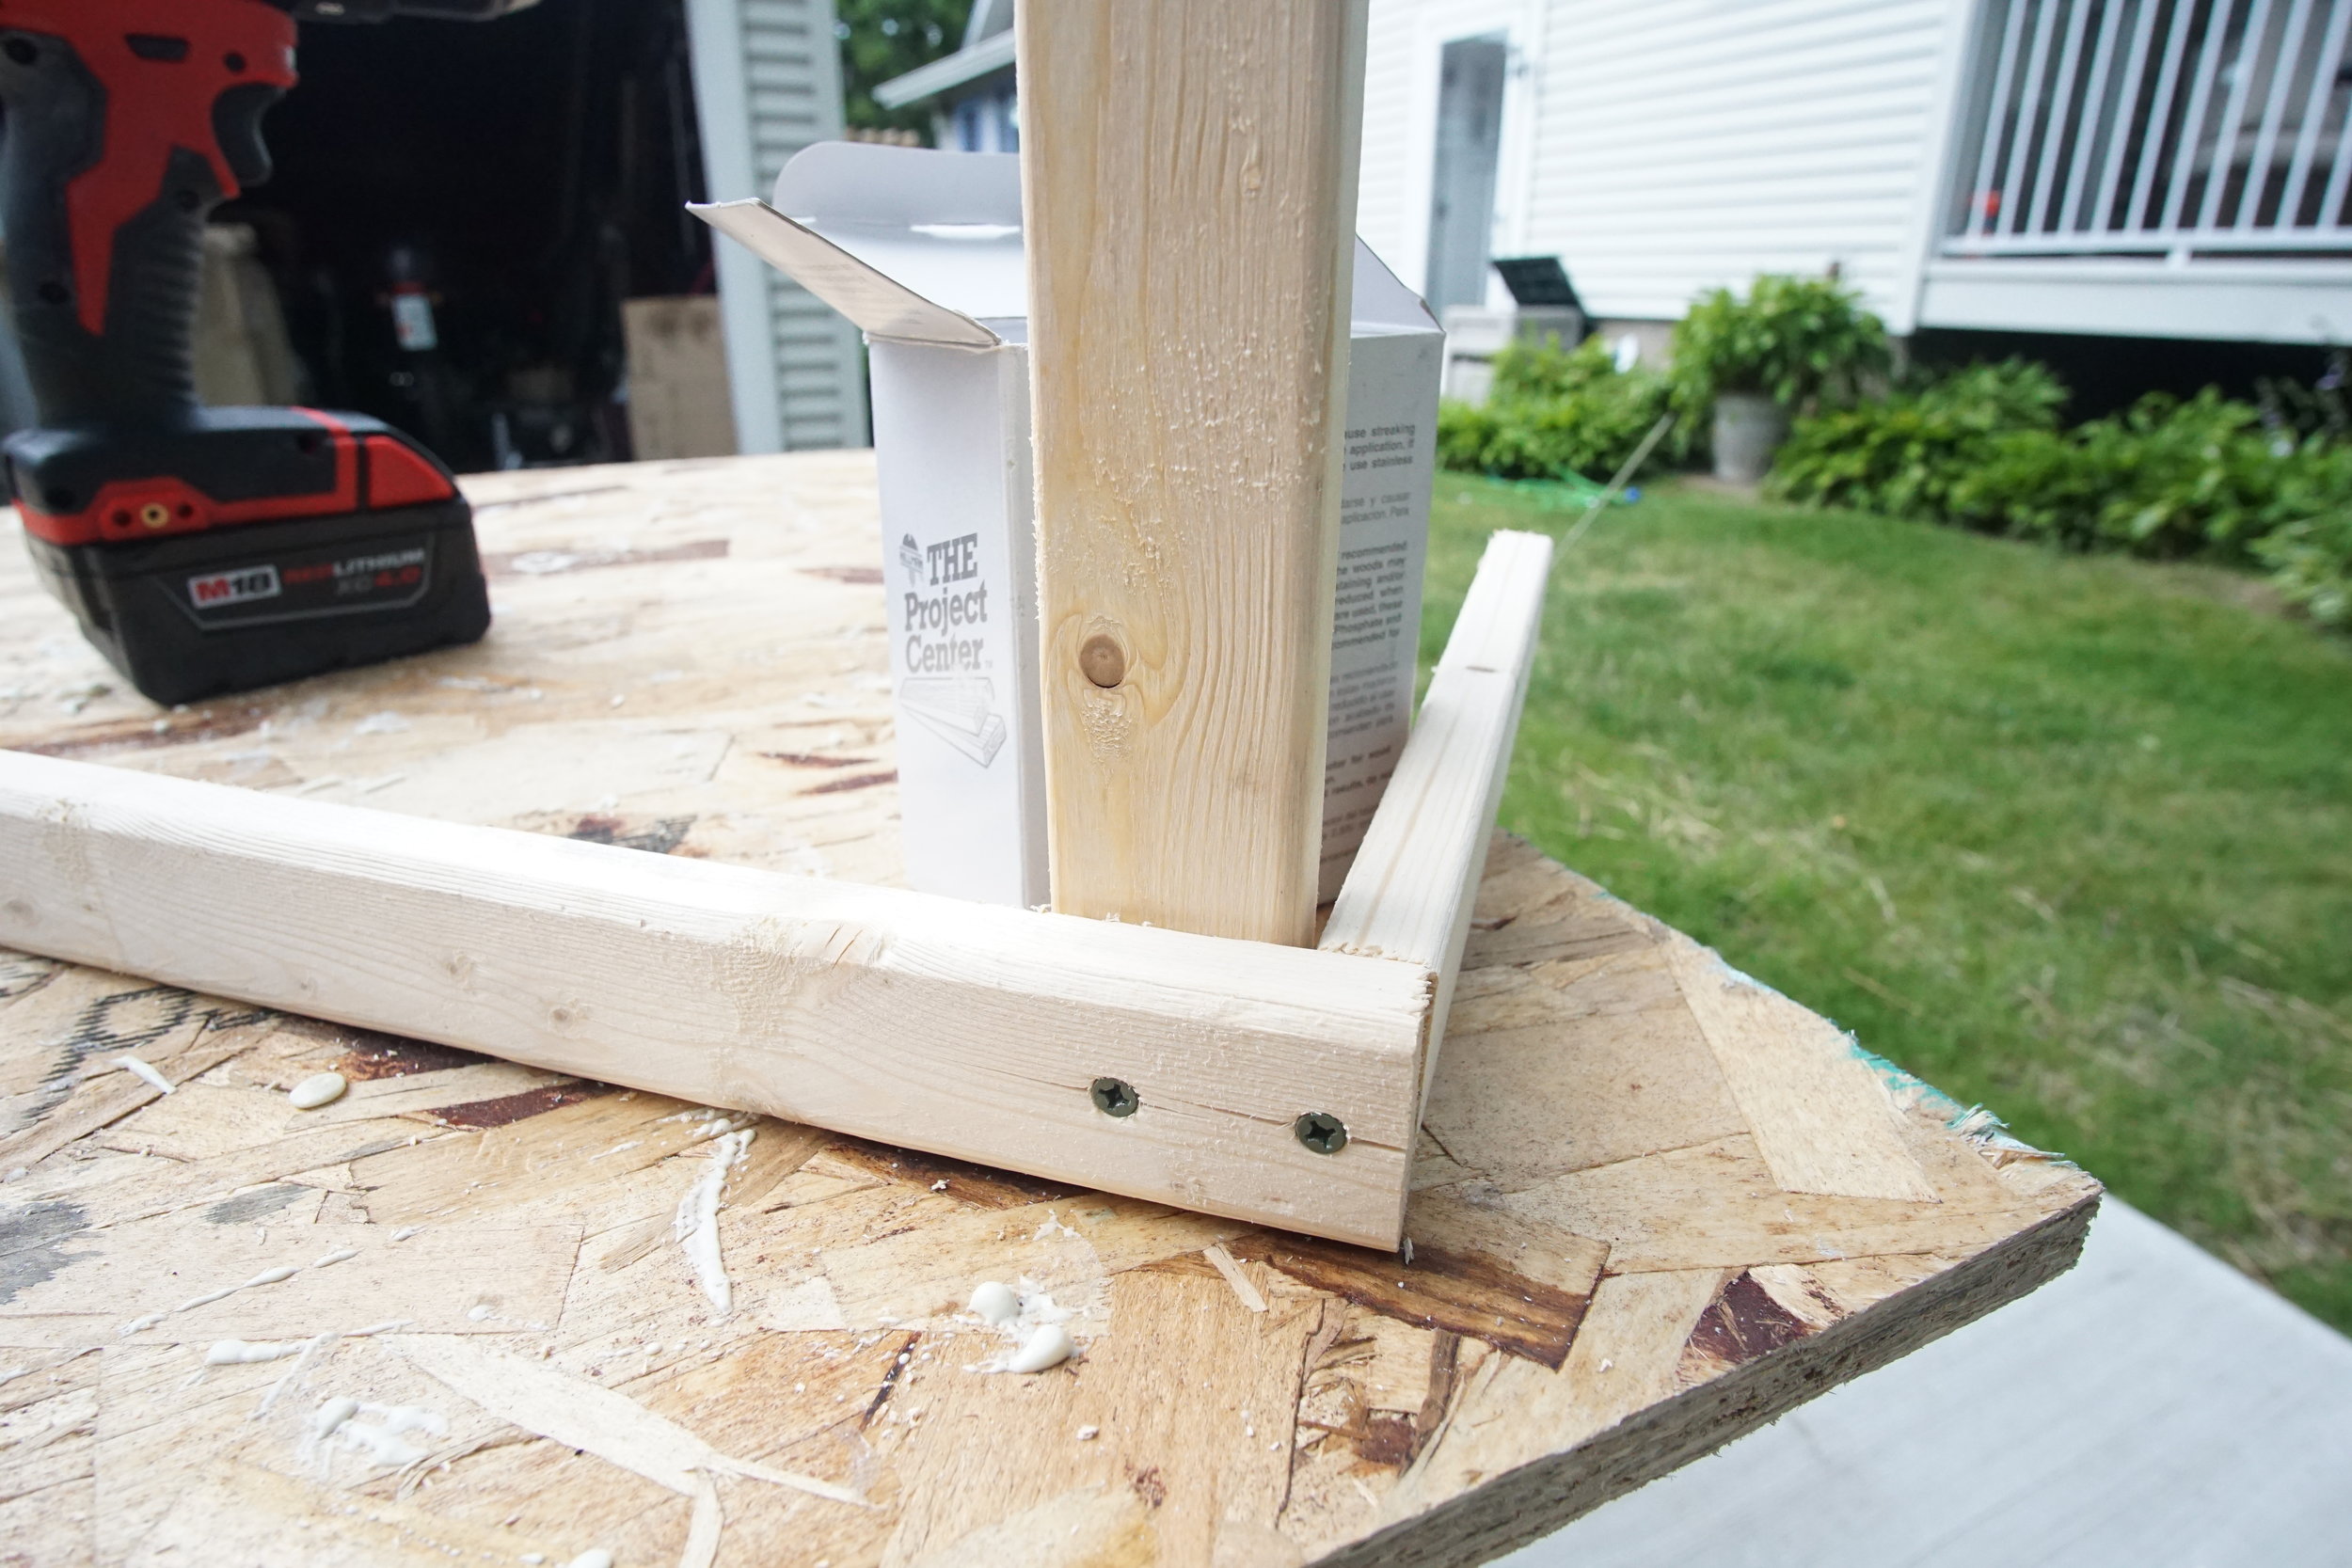
Insulating the wheel wells is as much about noise as it is about actual insulation. Most people build boxes around the wheel and have the interior of the box insulated, so I followed suit. I used 1 x 2" furring strips to create the frame of my boxes. Later in my build I learned about pocket screws and that changed how I built these types of structural components, but at the time I just threw them together the only way I knew how - poorly. I measured for them to be as close to the wheel as possible in all dimensions, but with enough of a gap to use spray foam insulation to actually surround the wheel.
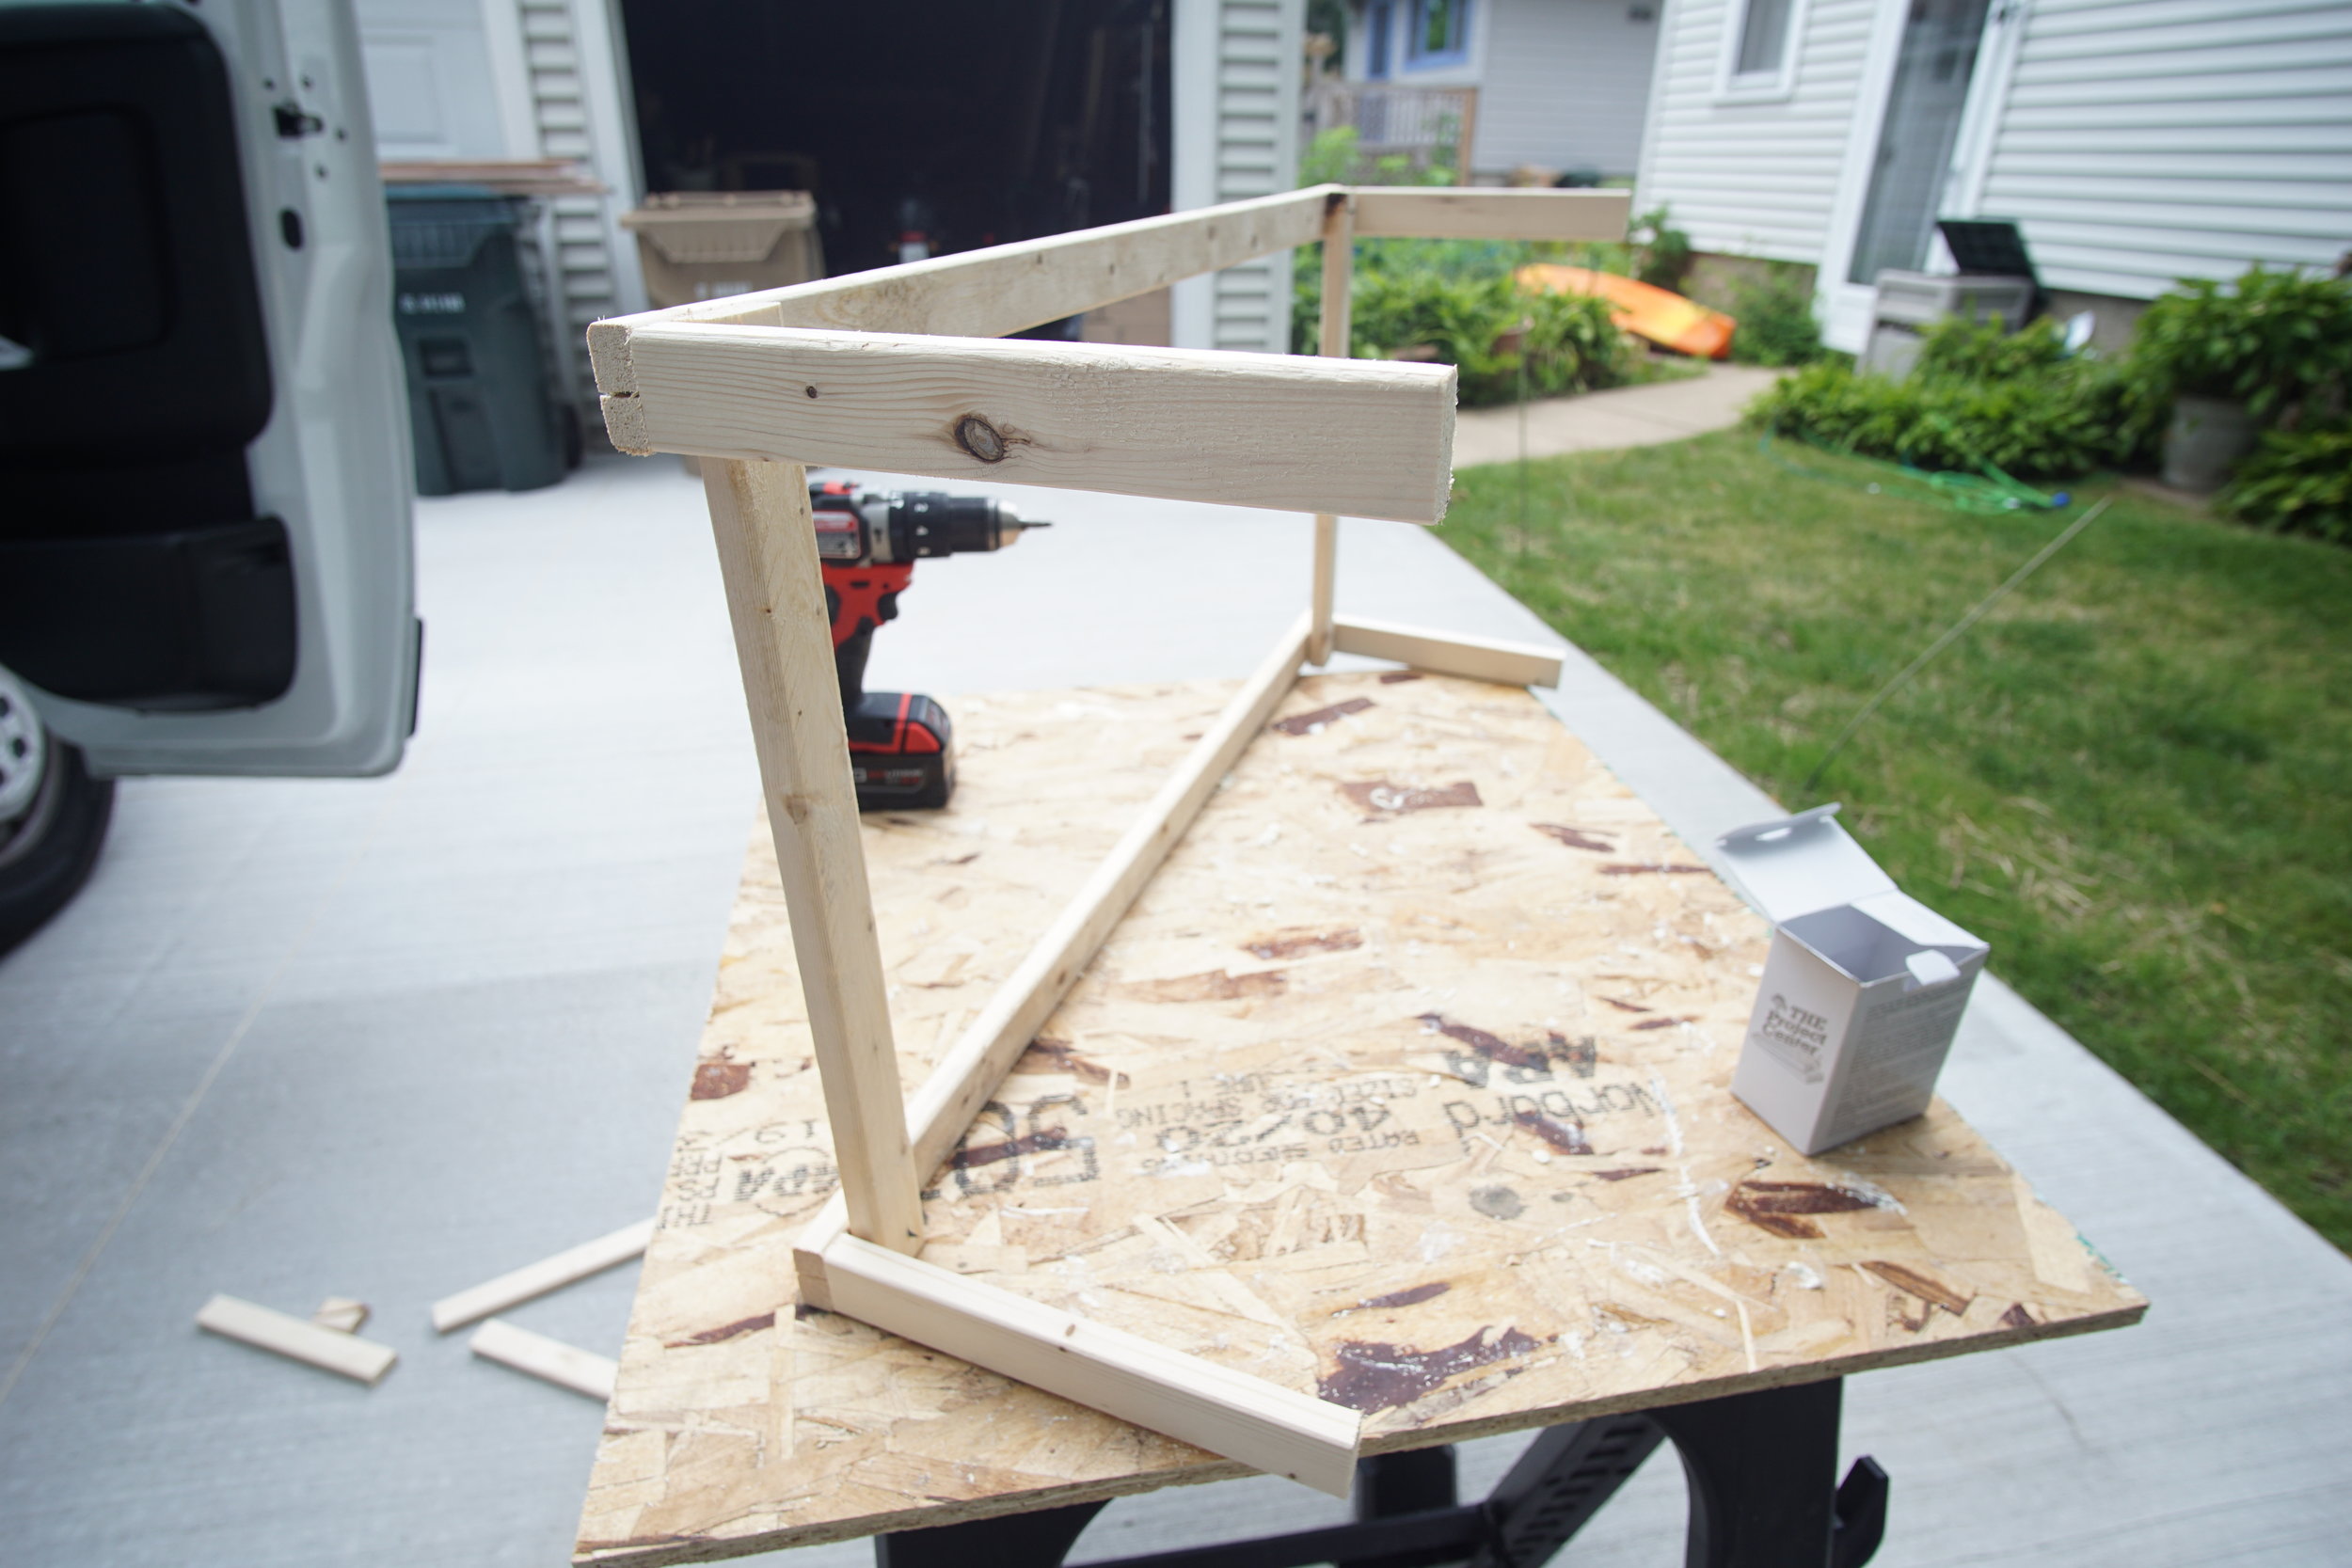
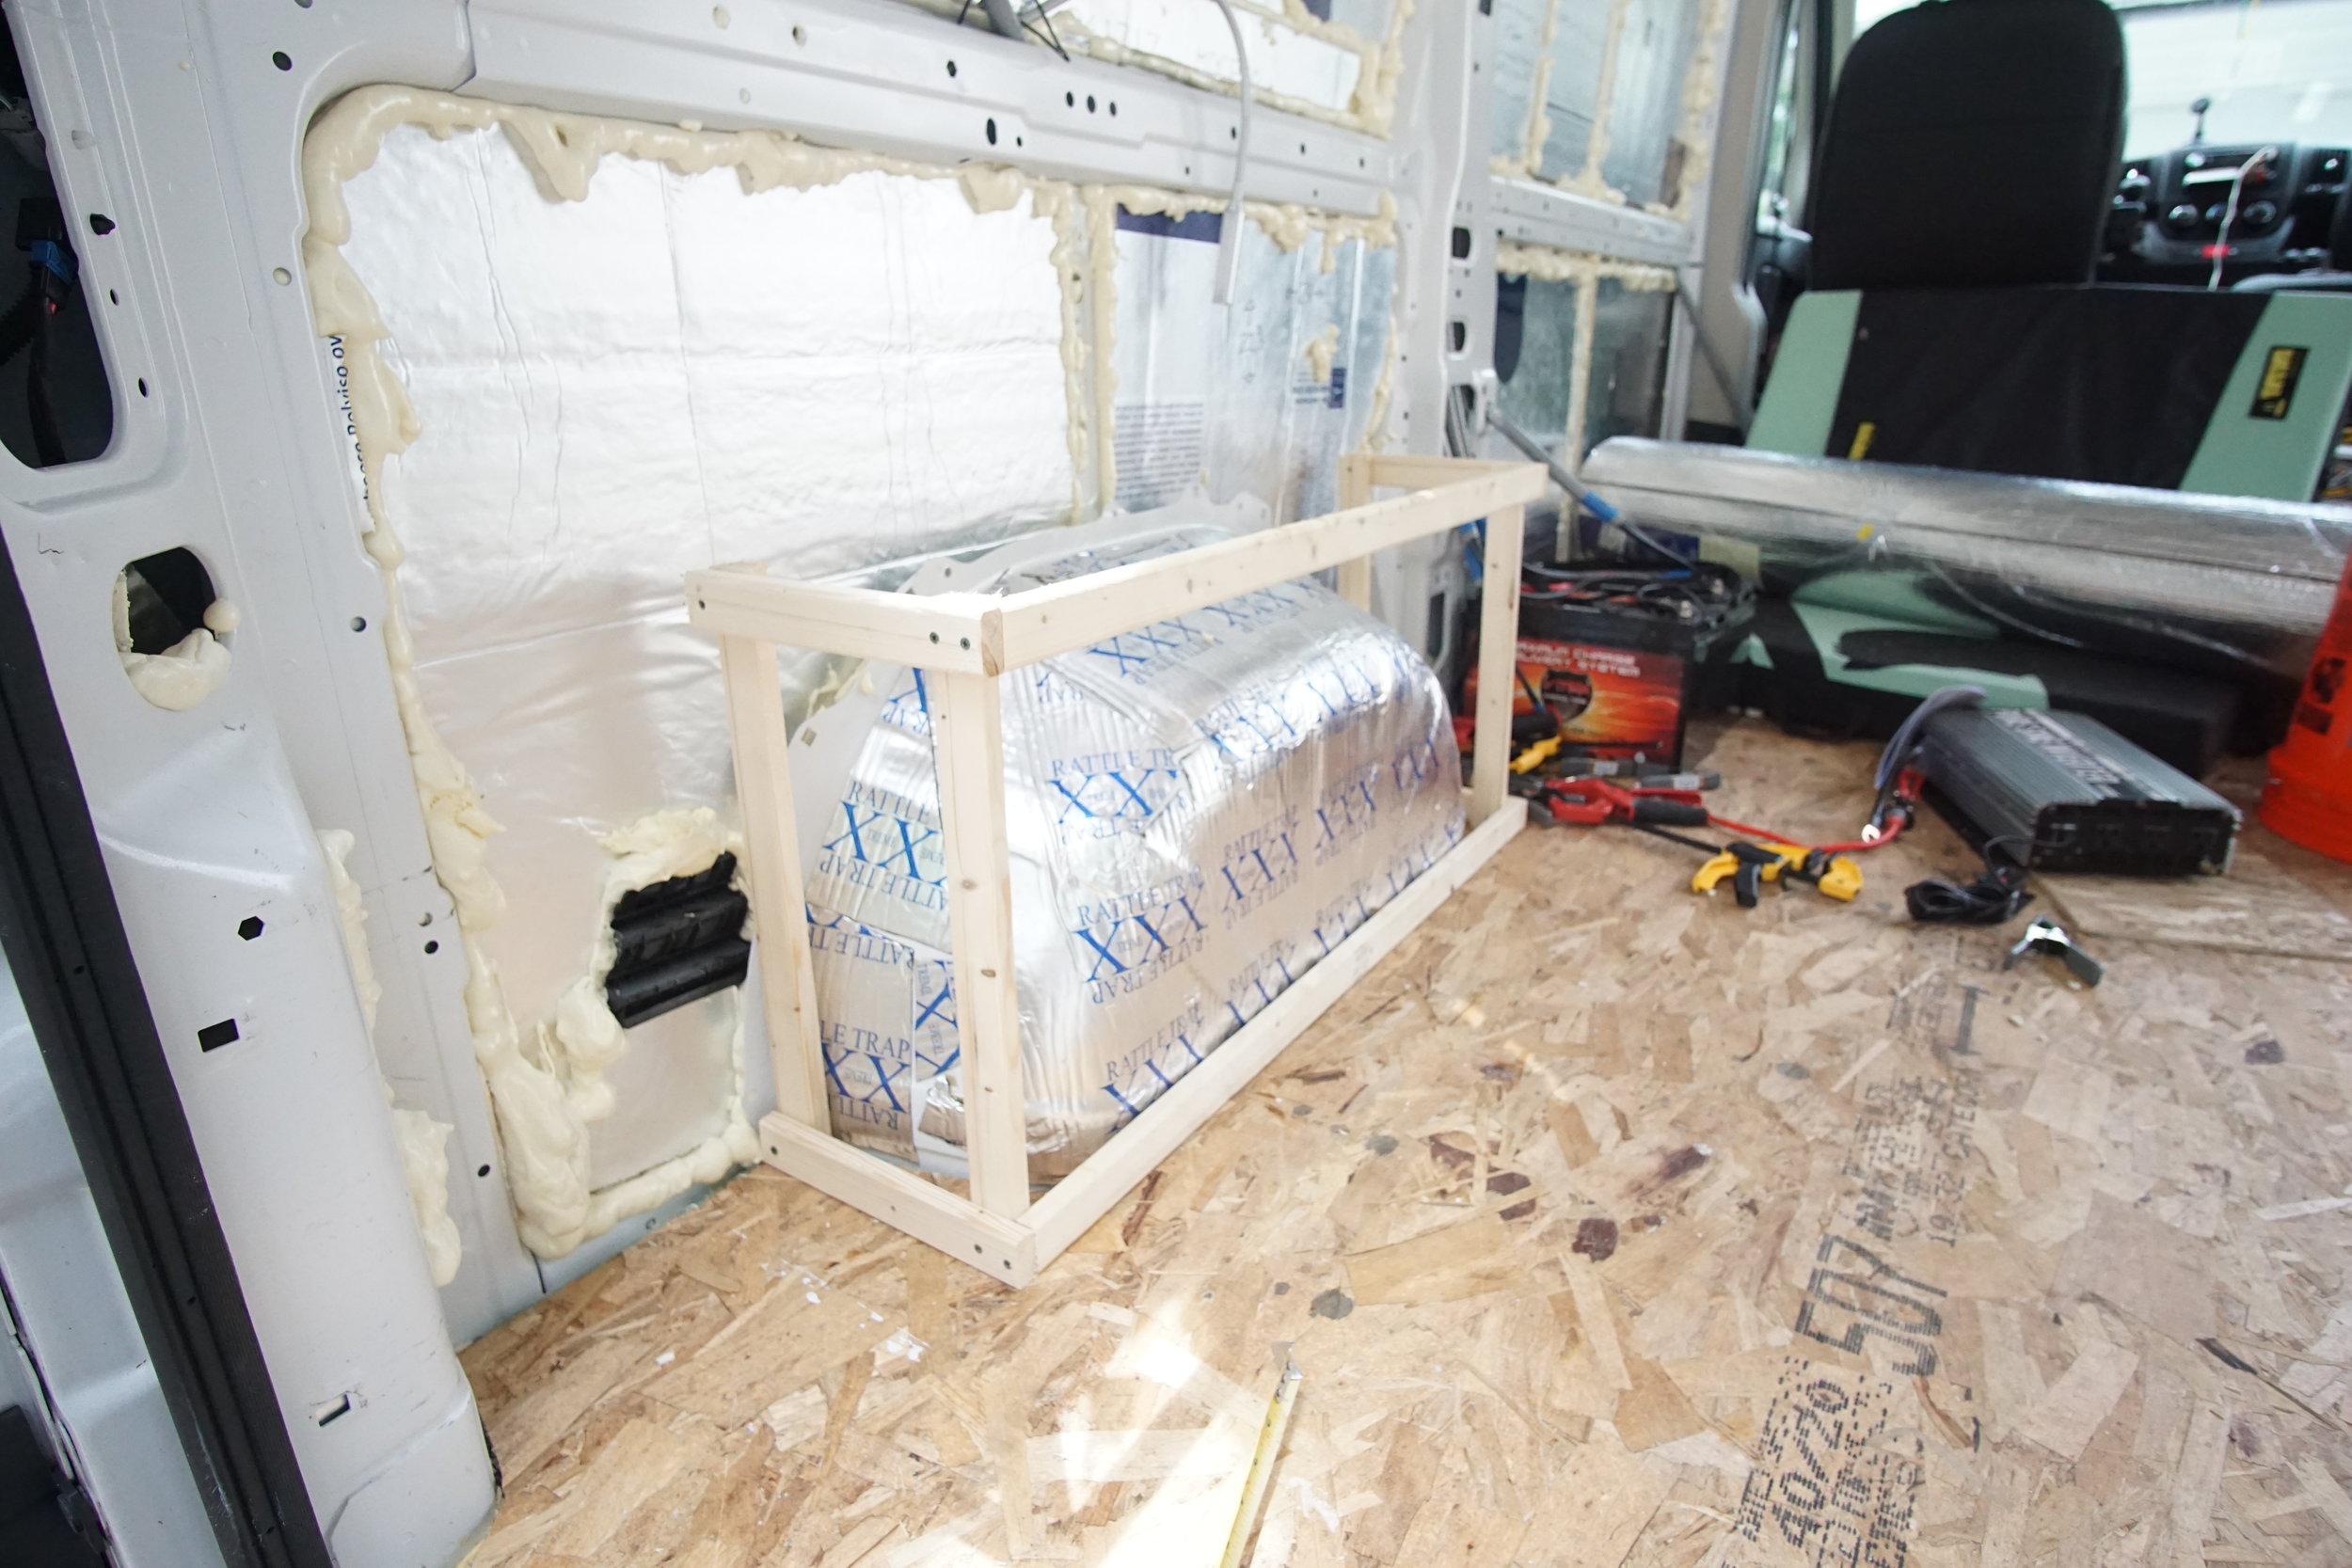
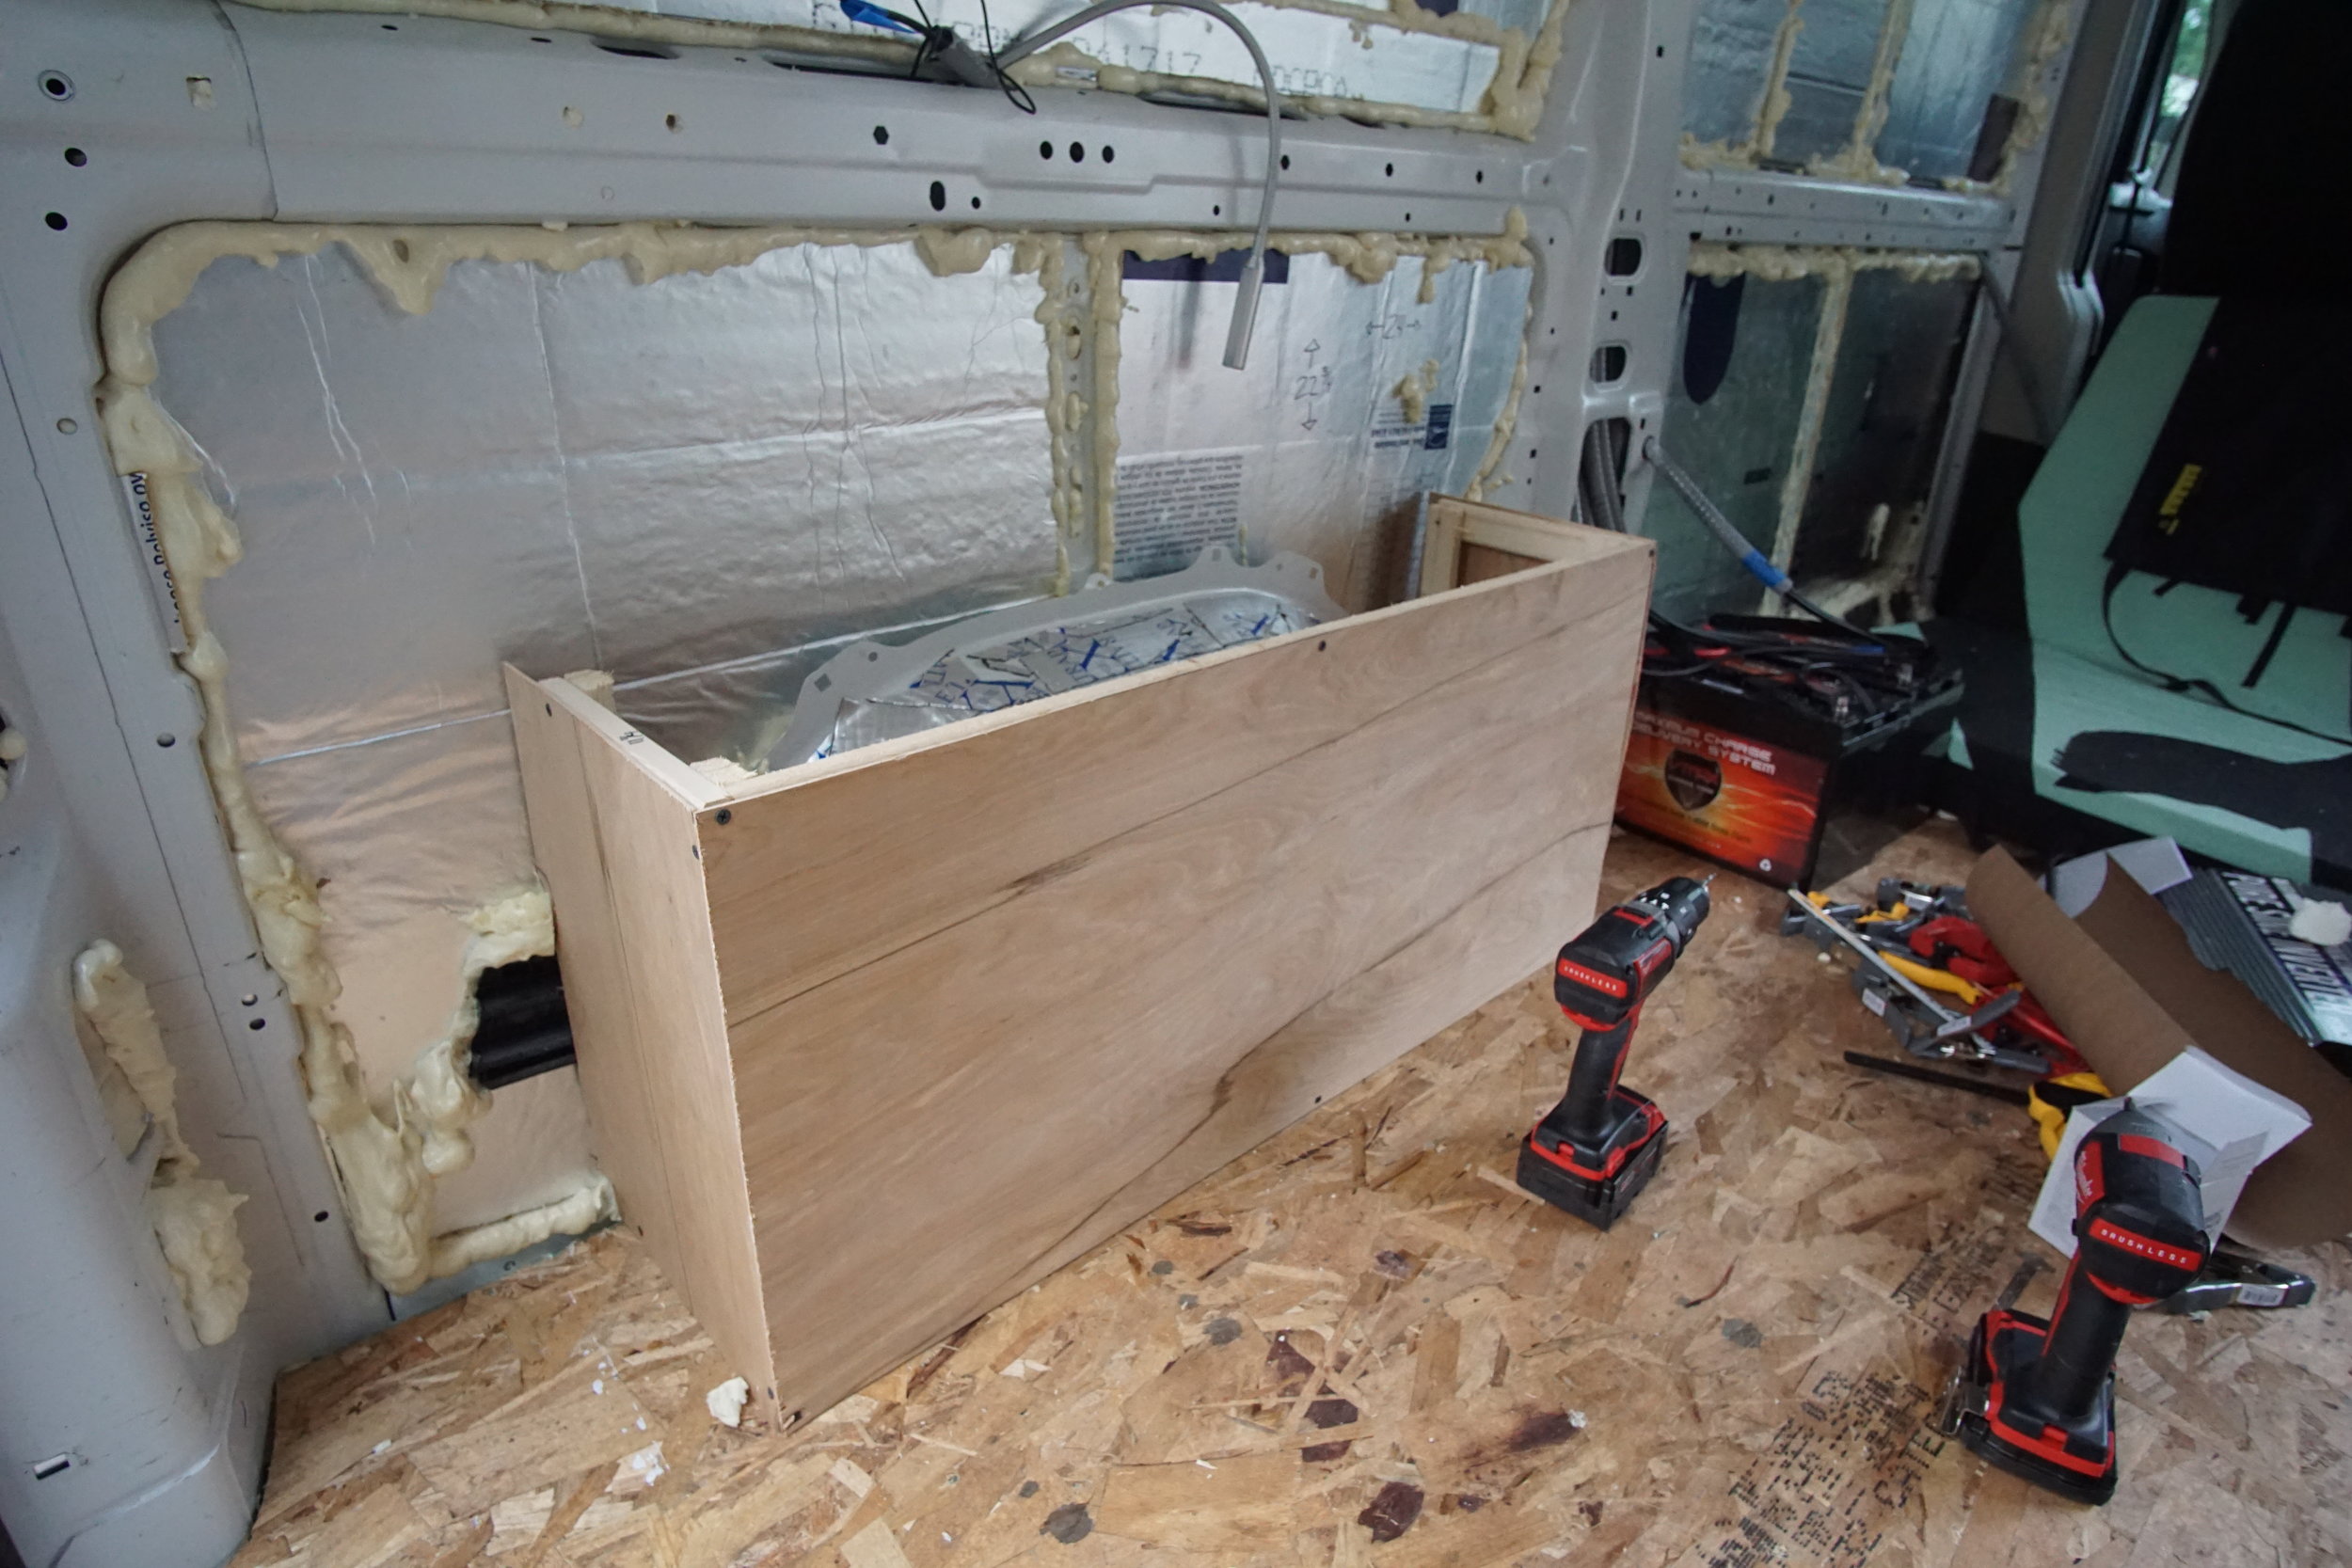
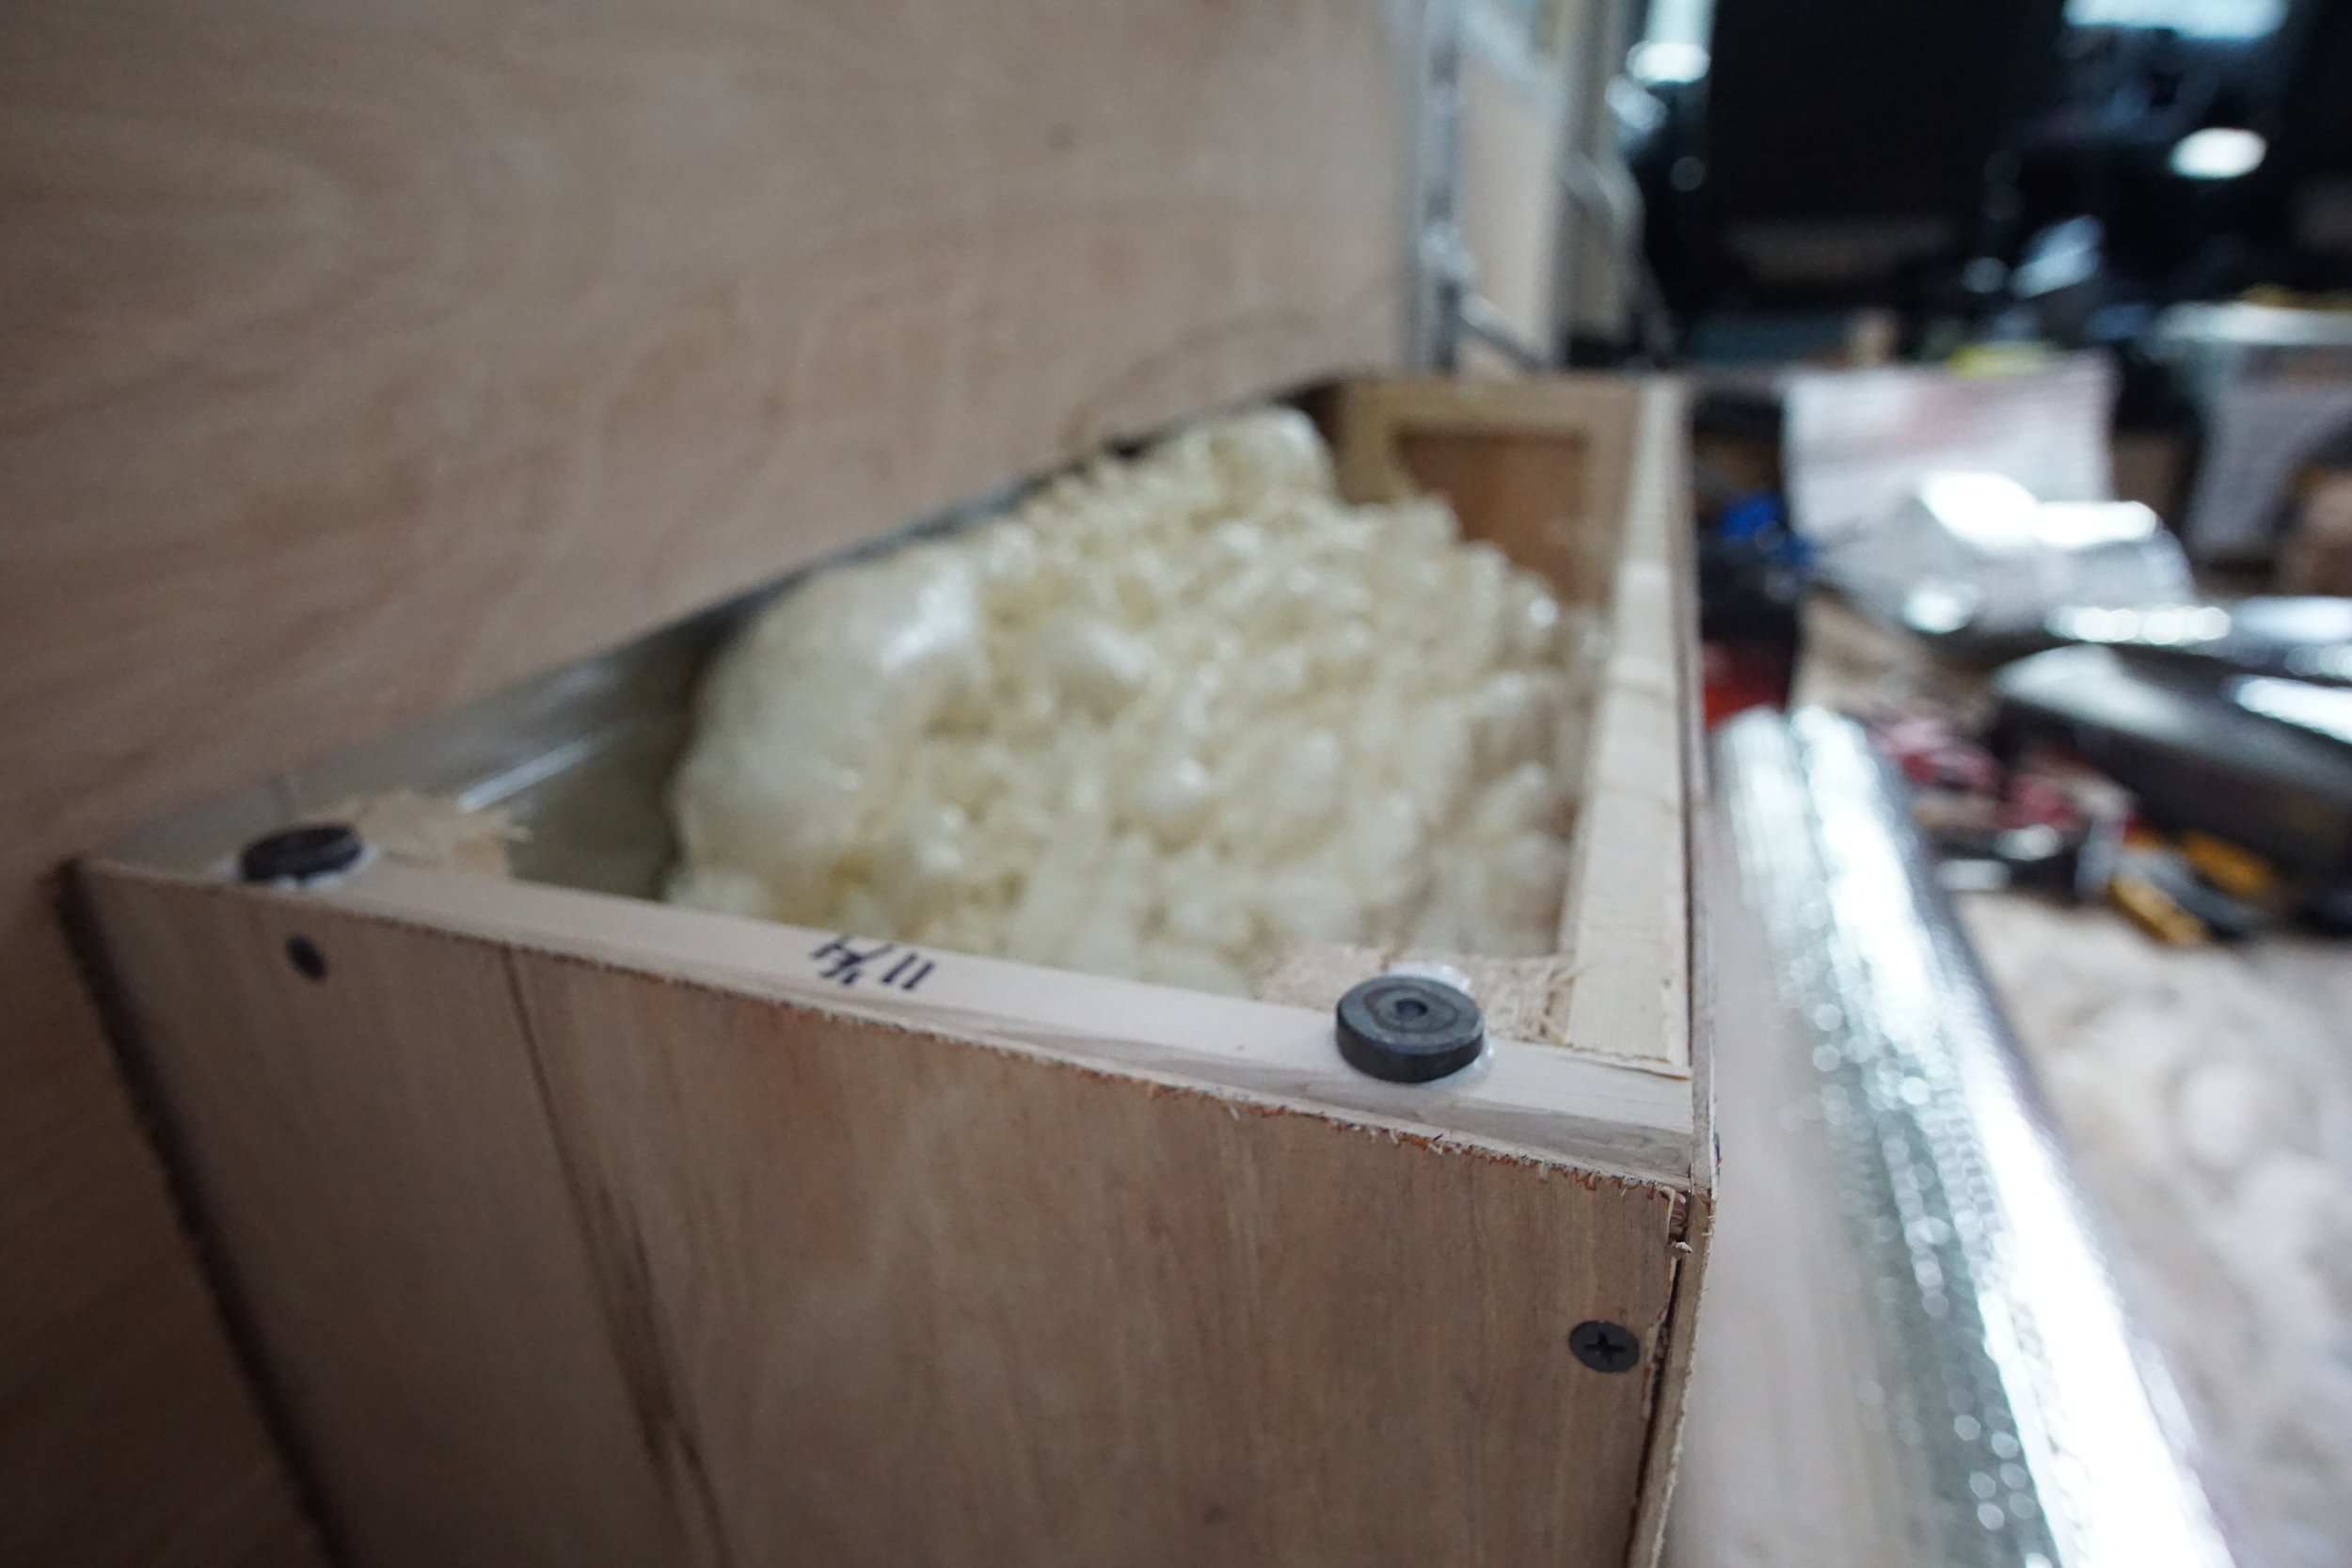
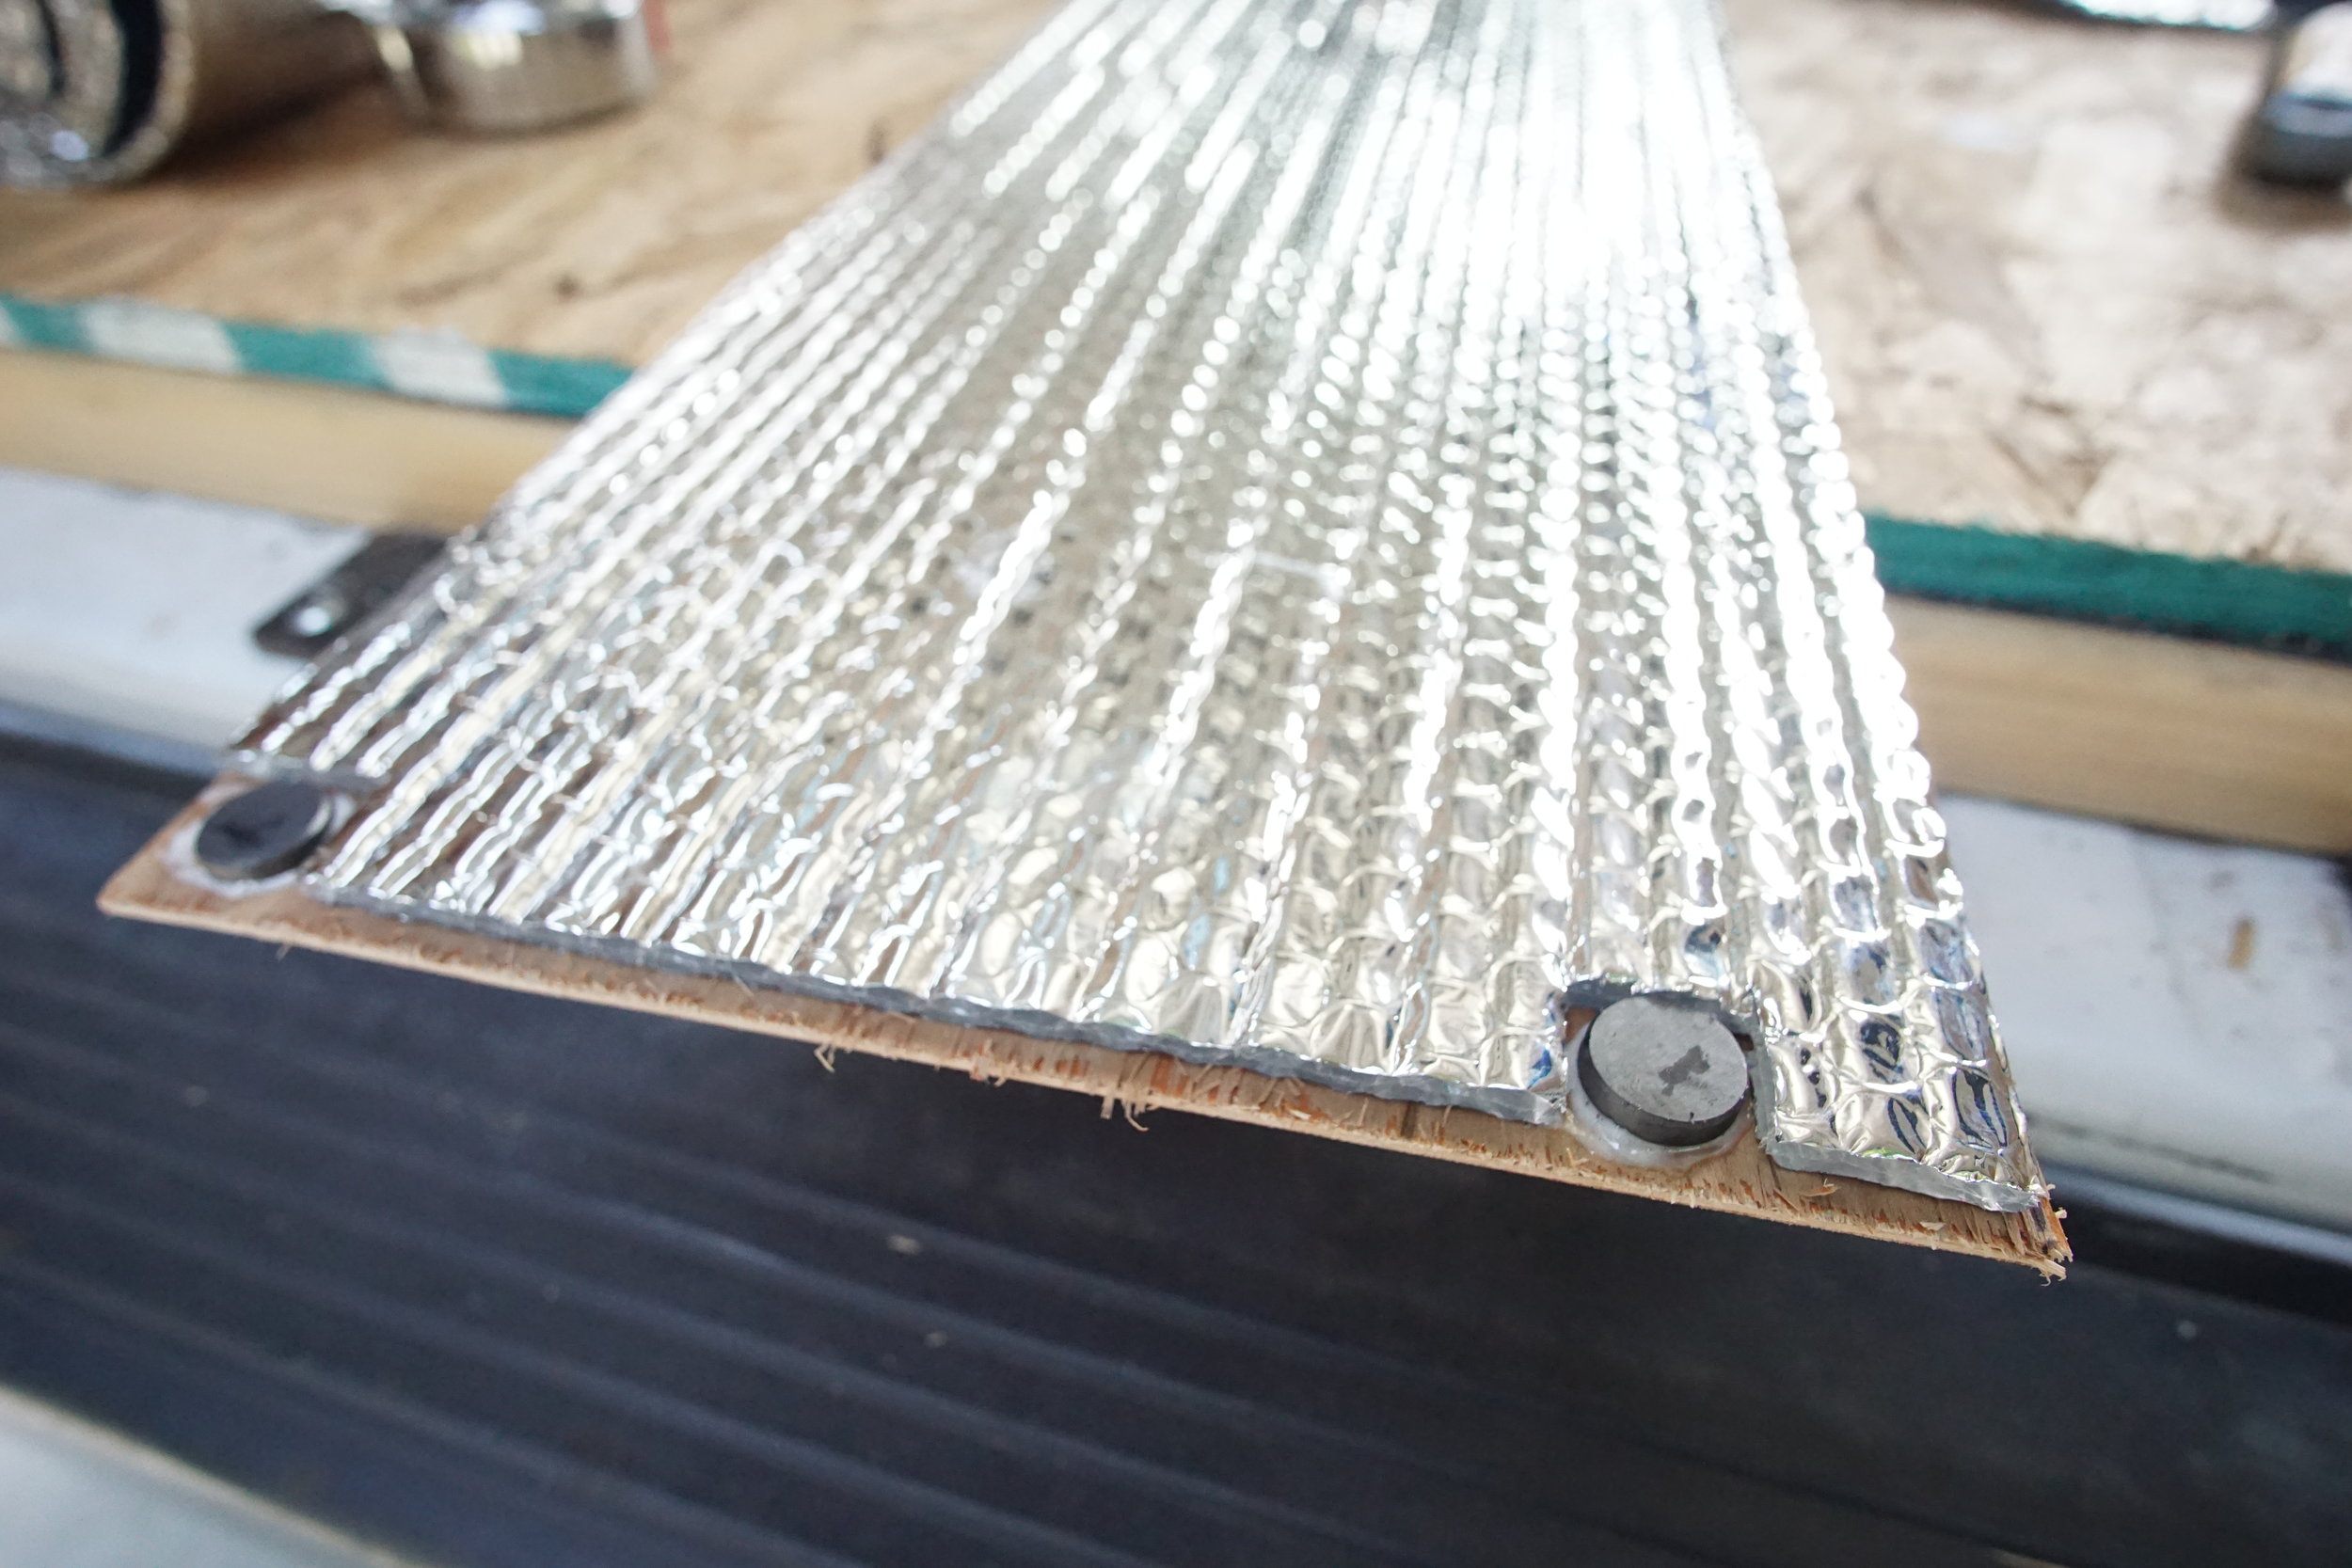
After framing each wheel, I used 1/8" plywood board to creates walls on the frame and finish the box. This proved to be a difficult to get right on the sides because of the curvature of the wall. The side pieces needed to be reshaped a few times to ensure they met the wall and would thus allow proper spray foam insulation of the area. Once I had my boxes entirely constructed, I screwed them into my subfloor and then used several cans of GREAT STUFF to begin filling in the empty space around the wheel. For the top of these boxes I made a piece of plywood with Reflectix on top for added insulation security. The tops were kept in place with magnets so it could easily be removed and the small space remaining around the top of the wheel could be used for limited storage. I've yet to use these areas, but could see it become a place where I stuff random things as I discover what I'm using most commonly, or something like colder weather gear once I'm in the Southwest.
Plywood Paneling and Reflectix
With my polyiso, spray foam, and wheel wells covers in place, I moved to covering up the areas that wouldn't be visible. These included the bottom half of the walls in the back, which would be under the bed, and the bottom half of the front passenger side, which would be covered by the kitchen. I cut 1/8" plywood to these shapes and for added insulation used 3M 90 spray adhesive to attach Reflectix to the back of those panels. As I mentioned, in some places I used the Reflectix to aid my insulation. It generally doesn't work well without an air barrier (i.e. doesn't work when up against something), so it actually ended up being useful to cover places where I didn't spray foam or put much polyiso (the back and top corners with wires) and there were larger holes. I also cut Reflectix to size for the back door windows and the RV windows I'd installed. With my mom's help, we created some simple "pillow case" covers for them with blackout fabric on the outdoor facing side and other cool patterns on the side facing into the van... you've got to have the right ambiance after all! I'm not positive about the efficiency of the Reflectix here. Placed over the window alone it should be effective, but with the fabric up against it (especially black fabric on the outside) I'm not sure how that impacts the efficiency.

Window cover over one of the side RV windows. The fabric on the interior is of a map and the exterior fabric is blackout fabric. There is Reflectix on the inside.
Lessons Learned
- I could have used less pieces (possibly 1) around the windows and still not wasted the center cut out portion.
- GREAT STUFF large gap filler doesn't work as well as the gaps and cracks version. Don't be fooled by this when needing to fill larger voids. Use Gaps and Cracks.
- You'll use more GREAT STUFF than you'd ever think. It's annoying to have to stop because you ran out and need to run back to the store in the middle of your work. Get more cans… you can always return the unopened ones. The same thing goes for the spray adhesive.
- I didn't learn about pocket holes for framing soon enough and my boxes for the wheel wells could have been much, much better.
- Don't stress too much about the insulation… OR, stress 100% about it. It doesn't do much good to be 75% stressed because that means it won't be perfect anyway.
Resources
- Bob's link again
- Instructables
- Build a Camper Van
- Build a Green RV
- Sean Stoops
- Countless YouTube videos. Countless.
